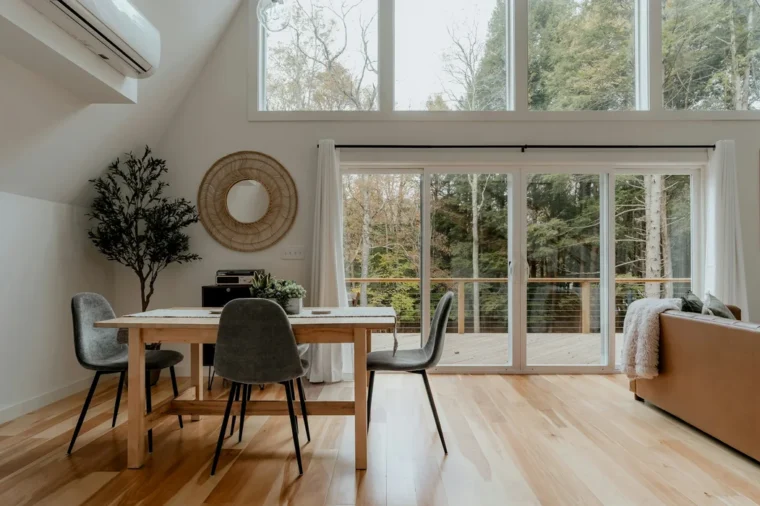
Floor transition strips cover the joint where two floors meet, usually at a doorway. Use a T-molding between two floors of the same height, a reducer where one floor sits higher than the other, an end cap or threshold against a door track or sliding door, a stair nose at a step edge, and a metal profile for tile. The right strip protects edges, hides the expansion gap and prevents trip hazards.
This guide works as a visual catalog. It walks through seven types of strip, shows which one fits each pair of floors in a matrix, then covers tile to wood transition planning, height limits and when you can skip a strip entirely.
Alvin researched and wrote this catalog for FIXO. Our multi-room layout crews settle plank direction, thresholds and doorway heights once, so a whole level reads as one floor. The installation figures come from manufacturer instructions and federal accessibility standards.
What this visual catalog covers
Key takeaways
- Floating floors need an expansion gap, and transitions cover it at doorways.
- Pergo’s instructions call for T-moldings in doorways 4 ft or narrower and in rooms 40 ft or longer.
- A T-molding joins equal heights; a reducer steps down to a lower floor.
- Federal accessibility rules allow a 1/4 in vertical change; up to 1/2 in must be beveled.
- Plan doorway heights before the floors go in, not after.

Why floors need transition strips
There are three main reasons a joint between floors needs a strip.
- Movement. Floating floors such as laminate and many vinyl planks expand and contract. The Pergo TimberCraft installation guide calls for a 3/8 in expansion space on all sides and says floor movement must not be restrained by glue, nails, screws or fixed obstructions.
- Height. Tile on a mortar bed, hardwood, vinyl and carpet all finish at different heights.
- Edges. The cut edge of a plank or tile is fragile and looks unfinished. A strip protects and hides it.
The same Pergo guide requires T-moldings in doorways 4 ft or narrower and in rooms 40 ft or longer. Other brands set their own limits, so always read the instructions for the floor you buy.
7 types of floor transition strips
These are the floor transition strips you will see in most homes, with what each one does.
1. T-molding
Shaped like the letter T. The stem sits in the gap between two floors and the top overlaps both edges. It joins floors of the same height, most often the same laminate or vinyl running from room to room through a doorway.
2. Reducer
A sloped strip that steps down from a higher floor to a lower one, for example from hardwood to vinyl or from laminate to a thin sheet floor. One edge sits on or locks to the higher floor; the slope lands on the lower floor.
3. End cap or threshold
A square-nosed piece that finishes a floor against a vertical surface: a sliding door track, a fireplace hearth, an exterior door threshold or a tall carpet edge. It covers the expansion gap without touching the other surface.
4. Stair nose
A rounded piece that wraps the front edge of a step or landing. On floating floors and vinyl it is often required at every tread edge. Nosing is covered in more depth in LVP on stairs.
5. Carpet edge strip
At carpet, a metal Z-bar, gripper edge or carpet reducer holds the carpet tight and finishes it against a hard floor. The carpet is stretched into the strip so the edge cannot fray or lift.
6. Metal tile edge profile
An L-shaped or ramped metal profile set into the tile thin-set. It protects tile edges at doorways and where tile meets another floor, and comes in aluminum, brass and stainless finishes.
7. Multi-purpose kit
Some laminate and vinyl lines sell one track with interchangeable tops that become a T-molding, reducer or end cap. Handy when you are not sure which you need, but less tailored than dedicated pieces.

Which strip for which floors: matrix
Find the two floors that meet and read across to the floor transition strips that suit them. Heights vary by product, so measure both finished floors before choosing.
| From | To | Usual strip |
|---|---|---|
| Laminate or vinyl plank | Same floor, next room | T-molding, or none if the floor allows a continuous run |
| Laminate | Thinner vinyl or sheet floor | Reducer |
| Hardwood | Laminate of similar height | T-molding or flush seam with a gap |
| Tile | Hardwood, laminate or vinyl | Metal profile, T-molding or reducer, depending on height |
| Any hard floor | Carpet | Carpet edge strip, reducer or end cap |
| Any hard floor | Sliding door track or hearth | End cap or threshold |
| Any floor | Stair edge | Stair nose |
Where several floors meet in one hallway, decide the transitions together. Three different strips in a short hall look busy; one consistent profile looks planned.
T-molding vs reducer: how to choose
T-molding vs reducer is the most common choice homeowners face, and it comes down to one measurement: the difference in finished height between the two floors.
| Point | T-molding | Reducer |
|---|---|---|
| Floor heights | Equal or nearly equal | One floor noticeably higher |
| Shape | Flat top over both floors | Slopes from high to low |
| Typical use | Same floor through a doorway | Wood or laminate down to vinyl, sheet or concrete |
| Expansion gap | Covers a gap on both sides | Covers the gap on the higher floor |
| Trip risk | Low when heights match | Low when the slope is gentle |
If the heights are within a small fraction of an inch, a T-molding works. If the difference is larger, a T-molding rocks on the lower side and becomes a trip edge, so switch to a reducer. That is the practical rule behind every T-molding vs reducer decision.
Planning a tile to wood transition
The tile to wood transition is the one most likely to go wrong, because tile plus its backer board and thin-set often finishes higher than wood or vinyl next to it.
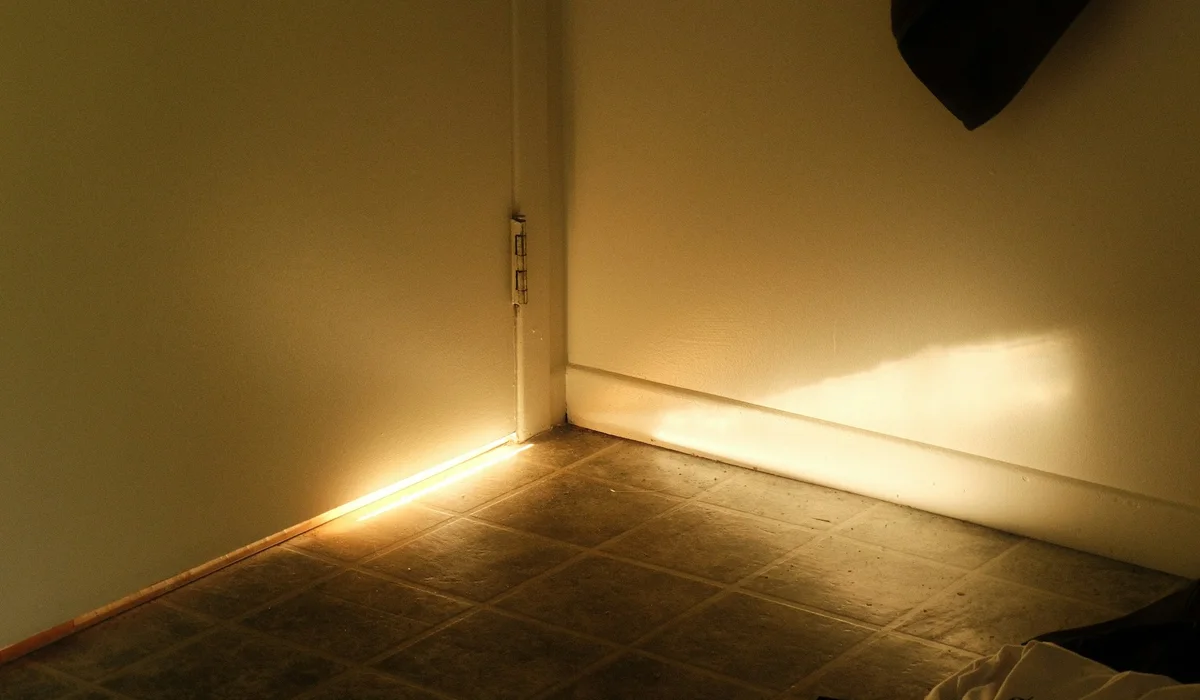
- Measure finished heights. Add up tile, thin-set and backer on one side, and flooring plus underlayment on the other.
- Close the gap below the surface. Where possible, build up the lower subfloor with plywood or self-leveling underlayment so the finished floors meet at nearly the same height. See leveling a subfloor for the options.
- Pick the profile. Equal heights suit a slim metal profile or T-molding. A remaining step needs a reducer or ramped profile.
- Set the profile with the tile. Metal tile profiles go into the thin-set as the tile is laid, so plan them before tiling starts.
- Leave the wood or vinyl gap. The plank side still needs its expansion space under the strip.
Center the transition under the closed door so neither floor is visible from the other room when the door is shut. That small detail makes a tile to wood transition look intentional rather than improvised.
Height differences and trip hazards
The U.S. Access Board’s ADA standards for changes in level are a useful benchmark even at home. They allow a change of up to 1/4 in to be vertical, require changes from 1/4 in to 1/2 in to be beveled no steeper than 1:2, and treat anything over 1/2 in as a ramp.
| Height difference | Treatment |
|---|---|
| Up to 1/4 in | Can be a vertical edge |
| 1/4 in to 1/2 in | Beveled, slope no steeper than 1:2 |
| Over 1/2 in | Needs a ramp, or the floors should be built up to meet |
These rules apply to public buildings, not private homes, but they describe what is comfortable for anyone using a walker, wheelchair or simply walking in socks at night. If you are planning to age in place, aim to keep every doorway within them.
Can you skip the transition strip?
Sometimes. Glue-down vinyl and nail-down hardwood can often run continuously through doorways without a strip, because they are fixed to the subfloor. Floating floors are different: the manufacturer’s limits on doorway widths and room lengths decide where a strip is required.
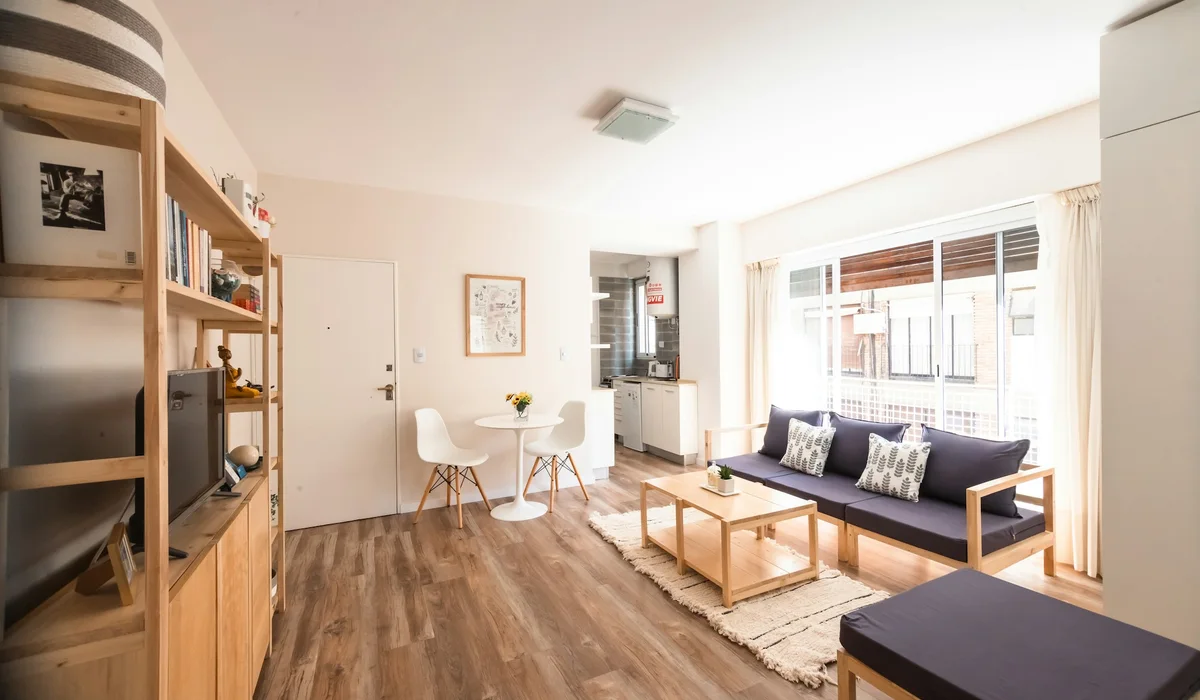
Some newer floating floors allow longer continuous runs, which is why some open-plan homes have one continuous floor. Check the installation guide before promising yourself a strip-free main level, and ask your installer to show where the expansion breaks will go.
When a transition is a good idea anyway
Even where it is optional, a strip makes sense where flooring changes type, where a door closes over the joint, or where one room may be reflored later. It lets you replace one room without disturbing the next.
Materials and colors
Floor transition strips come in several materials. Match the strip to the floor that gets the most attention, usually the room you see first.
- Color-matched laminate or vinyl. Made by the floor manufacturer to match a specific decor. The least visible option.
- Solid wood. Stained or finished to match hardwood floors, and can be sanded with them.
- Metal. Aluminum, brass or stainless steel. Very durable and common with tile; can look modern or industrial.
- Stone or marble saddles. Traditional at bathroom doorways, where they also act as a small water barrier.
Transitions room by room
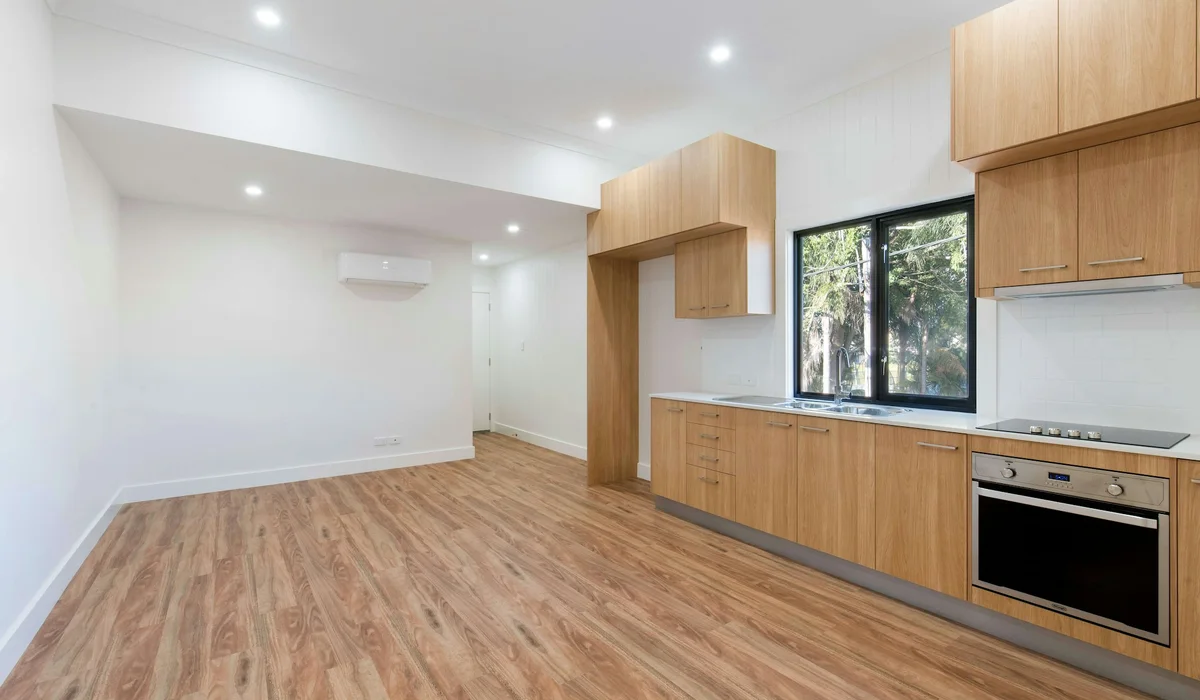
The right choice often depends on the doorway as much as the floors. These are the spots in a typical home where floor transition strips matter most.
- Bathroom doorways. Tile meets the hallway floor here. A marble saddle or metal profile protects the tile edge and adds a small lip that helps keep water in the bathroom.
- Kitchen to living room. In open plans this is often a tile to wood transition with no door to hide it. Run the line along a cabinet end or island edge so it looks deliberate.
- Bedrooms with carpet. A carpet edge strip under the bedroom door finishes the carpet against hallway hardwood or vinyl.
- Entry doors. An end cap or threshold meets the door sill, leaving the expansion gap under it.
- Basement and stair tops. A stair nose finishes the top step, and a reducer may be needed where the basement floor sits lower than the stair landing.
- Sliding patio doors. An end cap stops the floor short of the door track.
Measuring for a transition
Two measurements decide which floor transition strips you need and how many.
- Length. Measure each doorway from jamb to jamb at floor level. Strips are sold in fixed lengths, so list every doorway and check how many you can cut from one piece.
- Height difference. Lay a straightedge across the higher floor so it overhangs the lower one, then measure the gap down to the lower floor. Do this once both floors, or samples with their underlayment, are in place.
If you are measuring before the new floor arrives, add up the product thicknesses from the spec sheets: tile, thin-set and backer on one side, plank and underlayment on the other. That paper check is the first step in any tile to wood transition, and it tells you early whether the subfloor needs building up.
Common transition mistakes
Most of the transition problems we are called to fix fall into a handful of patterns.
- The wrong strip for the height. Getting T-molding vs reducer wrong leaves a rocking strip or a raised edge that catches toes.
- Nailing through a floating floor. A strip fastened through the planks pins the floor, and it can buckle or gap when it moves.
- The joint off-center from the door. When the door is closed, a sliver of the wrong floor shows.
- Forgetting the tile profile. A tile to wood transition planned after the tile is set often ends up with a bulky add-on strip instead of a slim profile set in the thin-set.
- Too many different strips. Mixing colors and profiles in one hallway looks unplanned.
- No expansion gap under the strip. The floor needs that space even when the strip hides it.
Questions to ask your installer
Before flooring starts, a few questions make sure the floor transition strips are planned rather than improvised:
- Where will each transition fall, and will it sit under the closed door?
- What finished height will each floor have at every doorway?
- Will you build up a subfloor to reduce height differences?
- Which strips match the floor color, and are they from the same manufacturer?
- At the kitchen and hall, which did you choose in the T-molding vs reducer decision, and why?
Good answers in writing make the final walk-through easy, because every doorway has already been decided.
How transitions are installed
Most floating floor strips snap into a track fastened to the subfloor inside the expansion gap, never through the flooring itself. That keeps the floor free to move.
- Undercut door jambs so the flooring slides beneath them. Pergo’s guide calls for at least 1/4 in under door frames.
- Install both floors, leaving the required gap at the joint.
- Fasten the track or adhesive to the subfloor in the gap.
- Cut the strip to length and press or tap it into place.
For more on gaps and doorways, our installing laminate flooring guide covers the full sequence.
Fixing a loose or lifted strip
A strip that pops up usually means the track has come loose, the floor has expanded against it, or the heights do not match. Re-glue or replace the track, check that the expansion gap is still open, and switch to a reducer if one side sits lower.
Floor transition strips FAQ
What are floor transition strips?
They are moldings that cover the joint where two floors meet, usually at a doorway. They hide the expansion gap, protect the edges and smooth any height difference.
What is the difference between a T-molding and a reducer?
In T-molding vs reducer, a T-molding joins floors of the same height with a flat top, while a reducer slopes down from a higher floor to a lower one.
What transition do I use from tile to wood?
For a tile to wood transition, use a metal profile or T-molding if the heights match, and a reducer if the tile sits higher. Building up the lower subfloor first gives the cleanest result.
Do I need a transition strip in every doorway?
Not always. Glue-down and nail-down floors can often run through. Floating floors follow the manufacturer’s rules, such as Pergo’s T-molding requirement in doorways 4 ft or narrower.
How much height difference can a transition handle?
As a benchmark, ADA standards allow 1/4 in vertical and up to 1/2 in beveled at 1:2. Bigger differences need a ramp or a built-up subfloor.
Should the transition go under the door?
Yes. Center it under the closed door so each room shows only its own floor when the door is shut.
Next step: plan floors that flow
If you are reflooring several rooms, our multi-room layout team sets the transitions, heights and plank direction once, and our laminate, LVP and tile crews install them. Start with an instant quote.