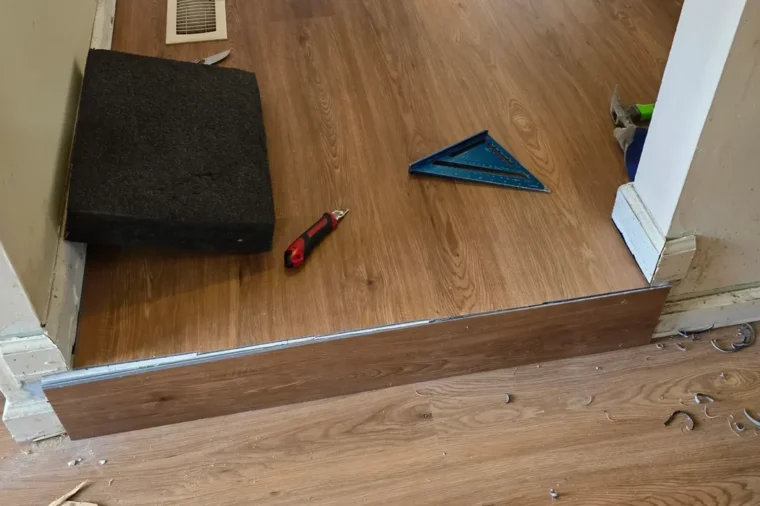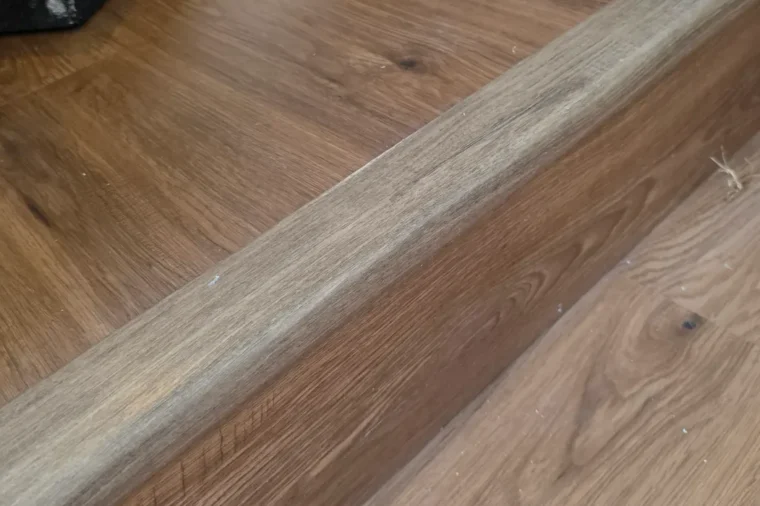
Installing laminate flooring is a realistic weekend project for one room: acclimate the planks for about 48 hours, confirm the subfloor is dry and flat to within 3/16 inch across 10 feet, roll out the underlayment, then click the rows together with end joints staggered at least 12 inches and a 3/8 inch gap at every wall. Most first-timers finish a 200 square foot bedroom in one to two days once the old floor is out.
Laminate is popular with DIYers because the planks lock together with a click joint and float over the subfloor, so there is no glue, nailing or sanding. That same floating design is also why most failed floors fail: a plank pinned under a cabinet, a missing gap at the wall or a damp slab gives the floor nowhere to move when the seasons change.
This tutorial walks through how to install laminate flooring step by step, from the tool list and timing to the first row, doorways, the last row and trim, plus a troubleshooting table for the problems DIYers hit most. Alvin put it together for FIXO, a flooring company that lays laminate in homes around Northern Virginia, Maryland and Washington DC, using manufacturer installation instructions as the baseline.
What this laminate tutorial covers
Key takeaways
- Leave unopened boxes in the room for 48 hours at 60 to 85°F and 35 to 65% humidity, the range Pergo lists in its instructions.
- The subfloor must be flat within 3/16 inch over any 10 foot span. A floating floor will not hide humps or dips.
- Over concrete, a 6 mil polyethylene vapor barrier goes down first unless the laminate underlayment already has one built in.
- Keep a 3/8 inch gap at walls, pipes, door frames and cabinets, and never nail or screw through the planks.
- Stagger end joints by at least 12 inches and add a T-molding in narrow doorways and in rooms 40 feet or longer.
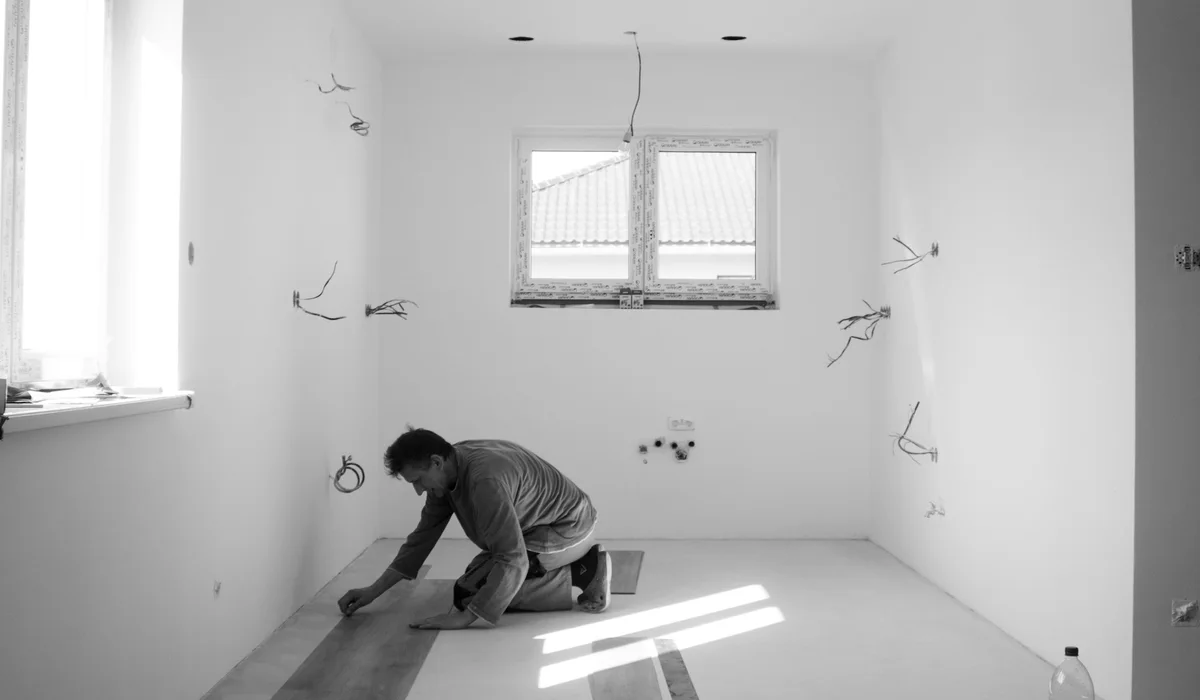
Before You Start: Is Installing Laminate Flooring a DIY Job?
For a single bedroom, office or living room with a sound wood subfloor, yes. The skills are measuring, cutting straight and keeping rows tight. Where DIY projects get harder is everything around the planks: leveling, door jambs, stairs, long open layouts and rooms full of pipes or angles.
Before working out how to install laminate flooring in your own space, use this quick check:
| Your room | DIY friendly? | Why |
|---|---|---|
| Square bedroom over plywood, flat floor | Yes | Straight runs, few cuts, no moisture concerns |
| Living room with a fireplace hearth and two doorways | Yes, with patience | More scribing and transition pieces |
| Basement over a concrete slab | Maybe | Needs moisture testing and a vapor barrier; damp slabs are a deal breaker |
| Open main level over 40 feet long | Harder | Needs planned expansion breaks and very straight reference lines |
| Stairs, or floors with visible humps | Usually hire out | Stair nosing and floor leveling take experience |
If your home was built before 1978, pulling painted baseboards and casings can disturb lead paint. The EPA lead renovation rule covers contractors, and the same lead-safe habits (misting, plastic sheeting, HEPA vacuum) make sense for homeowners too.
Tools and Materials for Installing Laminate Flooring
You do not need a shop full of equipment. A basic kit for one room costs roughly $50 to $150 when starting from nothing, and most of it is reusable.
| Tool or material | What it does |
|---|---|
| Tape measure, pencil, speed square | Layout and square cuts |
| Miter saw or circular saw (fine tooth blade) | Crosscuts to length; a 40 tooth carbide blade limits chipping |
| Jigsaw | Notches around door frames, vents and pipes |
| Table saw or laminate cutter | Ripping the first and last rows to width |
| Tapping block and pull bar | Closing joints without crushing the edges |
| Spacers (3/8 inch) | Holding the expansion gap at the walls |
| Oscillating multi-tool or jamb saw | Undercutting door casings |
| Moisture meter | Checking wood subfloors (12% or less) |
| Laminate underlayment and 6 mil poly | Cushion, sound control and a moisture barrier over concrete |
| Transitions, quarter round, finish nails | Covering gaps at walls and doorways |
Buy about 10% more planks than the measured square footage for a simple room, or closer to 15% for rooms with many angles, plus enough laminate underlayment to cover the full floor area. Our laminate flooring calculator converts room sizes into boxes.
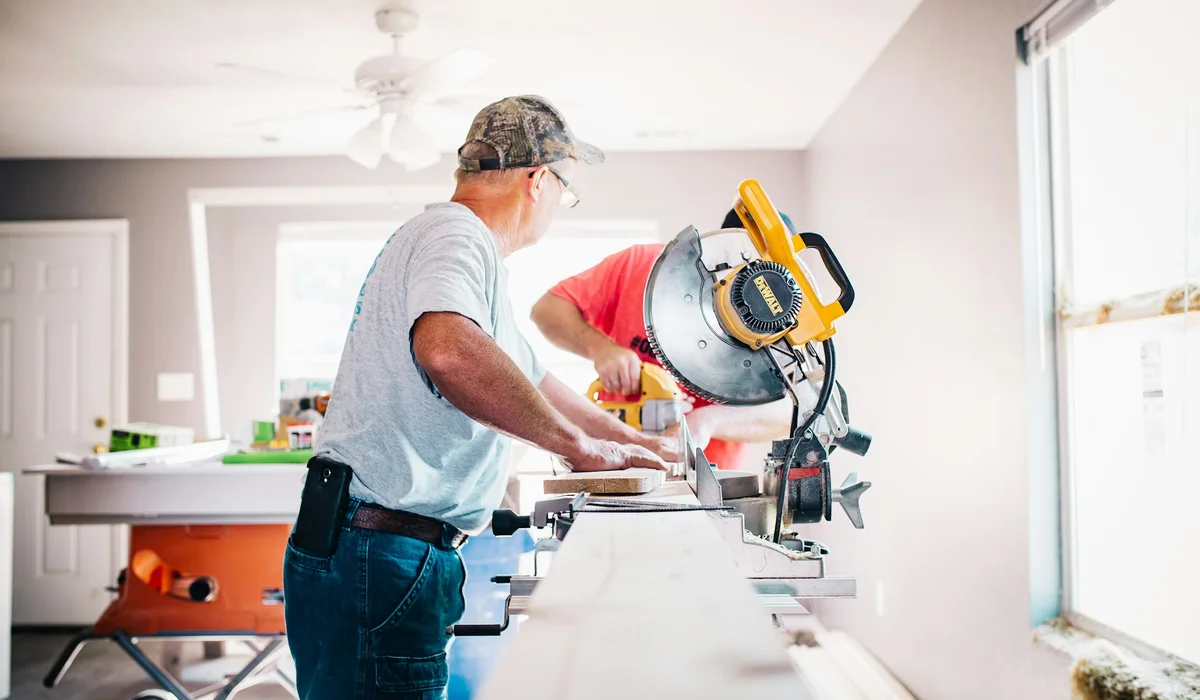
How Long It Takes
Here is a realistic schedule for installing laminate flooring as one person working on a 200 square foot bedroom with carpet coming out and a flat plywood subfloor:
| Task | Typical time |
|---|---|
| Acclimation (boxes sitting in the room) | 48 hours, hands off |
| Remove carpet, pad, tack strip and baseboards | 2 to 3 hours |
| Subfloor check, screws for squeaks, cleanup | 1 to 2 hours |
| Undercut door jambs, lay underlayment | 1 hour |
| Install planks | 5 to 8 hours |
| Transitions and trim | 2 to 3 hours |
A professional two-person crew usually lays the same room in a few hours, which is the biggest difference between the two routes.
How to Install Laminate Flooring in 12 Steps
The steps below show how to install laminate flooring in the order a flooring crew uses. Always read the instructions in your own box first, because acclimation, gap size and run limits vary slightly between brands, and following them is usually a condition of the warranty.
Step 1: Acclimate the Planks
The first step in installing laminate flooring happens two days early. Stack unopened cartons flat in the room where they will be installed, away from heat vents and sunny windows. The Pergo installation instructions call for 48 hours at 60 to 85°F with relative humidity between 35% and 65%. The house should already be at normal living conditions with the heat or air conditioning running, not a cold garage or a house with the HVAC off.
Step 2: Clear the Room and Undercut Door Jambs
Remove furniture, carpet, pad and every tack strip, then pull the baseboards if you plan to reuse them. Lay a scrap plank on a piece of underlayment against each door casing and cut the casing with a jamb saw or multi-tool. Pergo asks for the flooring to slide at least 1/4 inch under the frame, which hides the gap without any extra trim.
Step 3: Check the Subfloor for Moisture and Flatness
This is the step most DIY guides rush, and it decides how the floor feels for years. Wood subfloors should read 12% moisture or less. Concrete should test no higher than 5 pounds of moisture per 1,000 square feet in a day on a calcium chloride kit, or under 80% with an in-situ probe.
For flatness, slide a 10 foot straightedge across the floor in several directions. Gaps over 3/16 inch need attention: sand or grind high spots and fill low spots with patching compound. Screw down any squeaky boards now, because a floating floor amplifies movement. Our guide to subfloor leveling before flooring covers the fix in detail. Once the floor is flat and swept clean, the laminate underlayment can go down.
Step 4: Roll Out the Vapor Barrier and Laminate Underlayment
Over concrete, lay 6 mil polyethylene first, running each sheet a few inches up the wall and overlapping seams by 8 inches or more. Then roll out the laminate underlayment perpendicular to the direction of the planks, butting the edges and taping the seams.
If the planks have a pad already attached, skip a separate laminate underlayment. Doubling up makes the floor springy and stresses the click joints. Some combination products include the moisture film too, so check the label before buying a separate one.
Step 5: Plan the Layout
Layout planning is the part of installing laminate flooring that saves the most frustration later. Planks usually look best laid along the longest wall or aimed at the main window. Before cutting anything, measure the width of the room and divide it by the face width of one plank. If the last row would end up narrower than about a third of a plank, rip the first row narrower so the first and last rows are close in width.
Walls are rarely straight. Snap a chalk line parallel to the starting wall and measure off it, so a bowed wall does not push your rows out of line.

Step 6: Set the First Row
Cut the tongue off the long edge of the first-row planks that will face the wall. Place 3/8 inch spacers every 12 to 16 inches along the wall and at the ends. Lay the first plank tongue-side out, click the next plank onto its short end, and continue across the room. Pergo asks that the first piece in each row be at least 8 inches long, so measure the final piece before cutting.
The first row sets the line for everything that follows. Sight down it and check it against your chalk line before going further.
Step 7: Click Rows Together and Stagger the Joints
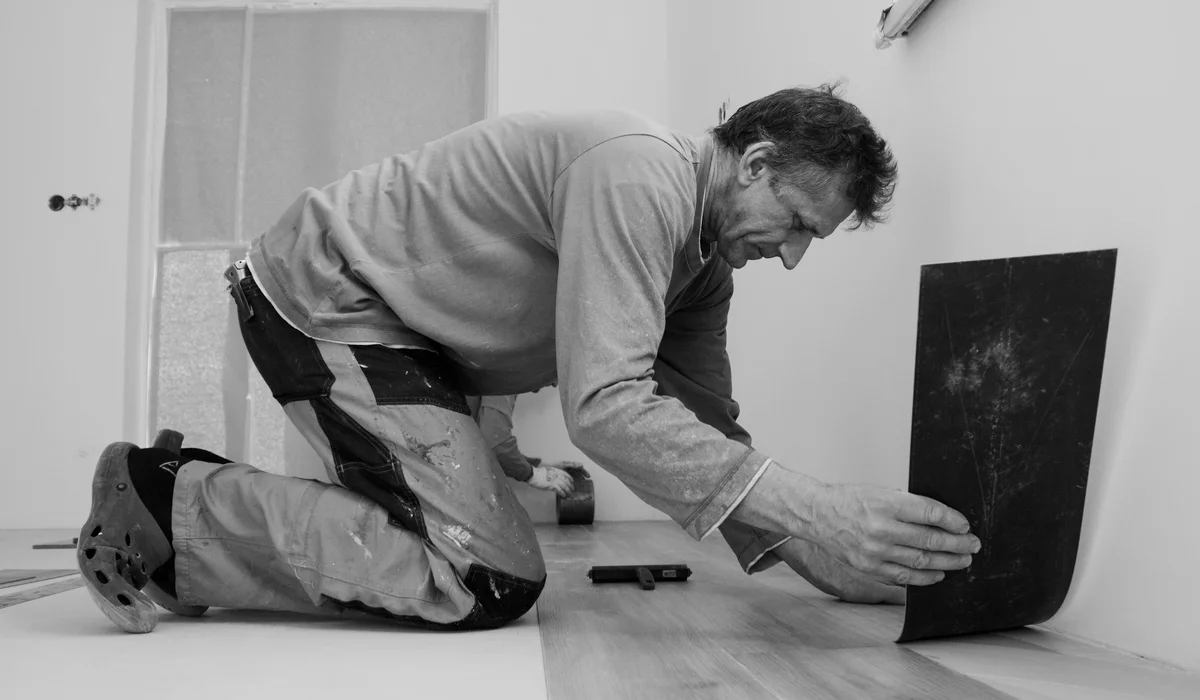
Start the second row with the offcut from the end of the first row if it is long enough, which keeps waste low and staggers the joints naturally. Angle each plank into the long joint of the previous row, lower it flat, then tap the short end closed with the tapping block.
Keep end joints at least 12 inches apart from row to row, and avoid repeating patterns that look like stair steps or an H shape. Pull planks from three or four boxes at once to mix the color and grain.
Step 8: Cut Around Pipes, Vents and Obstacles
For radiator or plumbing pipes, drill a hole 3/4 inch wider than the pipe so there is 3/8 inch of space all around. Cut from the hole to the edge of the plank, install the plank, then glue the small cut piece back in behind the pipe. Pipe collars hide the gap.
Never run a floating floor under kitchen cabinets, islands or built-in shelving. Install the cabinets first and leave the same gap at their toe kicks. A heavy island sitting on laminate pins the floor, and pinned floors buckle.
Step 9: Handle Doorways and Long Runs
Laminate grows and shrinks across the whole room. Pergo calls for T-moldings in doorways 4 feet wide or less and in rooms 40 feet or more in length or width. These breaks let each section move on its own. Plan them before you reach the doorway so the planks end neatly under the molding track.
Step 10: Fit the Last Row
Measure the gap between the last full row and the wall at several points, subtract 3/8 inch, and rip each plank to fit. Walls wander, so a single measurement rarely works for the whole row. Use the pull bar to close the long joint where there is no room for the tapping block.
Step 11: Remove Spacers and Install Trim
Pull every spacer, then reinstall baseboards or add quarter round. Nail trim into the wall, never down into the floor. Add transitions to tile, carpet or other floors, and use a flexible caulk only where the manufacturer allows it, such as along a tub.
Step 12: Clean Up and Protect the New Floor
Vacuum with a hard-floor setting and wipe with a damp microfiber mop. Put felt pads under furniture legs before moving pieces back. Most laminate can be walked on right away since there is no adhesive to cure.
Expansion Gaps: Where the 3/8 Inch Rule Applies
The perimeter gap is the single most important detail in installing laminate flooring. Laminate has a high-density wood-fiber core that swells in humid summers and contracts in dry winters, and the whole floor moves as one sheet. Leave the gap at:
- Every wall, including closets
- Door frames and thresholds
- Fireplace hearths, stone and tile edges
- Pipes, floor vents and toilet flanges
- Cabinet toe kicks and stair landings
The gap gets covered by baseboard, quarter round or a transition, so it never shows. A floor pushed tight against any fixed object has nowhere to grow, which is how laminate floor buckling starts. If you remember one thing about how to install laminate flooring, make it this gap.
Troubleshooting: Common Problems and Fixes
Even careful DIYers hit a few snags while learning how to install laminate flooring. Most have simple fixes:
| Problem | Likely cause | Fix |
|---|---|---|
| Plank will not click flat | Debris in the groove or a damaged tongue | Clean the joint; swap the plank if the tongue is chipped |
| Gaps opening at short ends | Joints not tapped fully closed, or very dry air | Tap closed with a block; keep winter humidity above 35% |
| Seams lifting or peaking | No room to expand, or high humidity | Trim the edge to restore the gap; run a dehumidifier |
| Hollow or clicking sound underfoot | Low spot in the subfloor | Lift the section and fill the dip with patch |
| Chipped edges after cutting | Coarse blade or cutting face down on a miter saw | Use a fine-tooth blade and cut face up on a miter saw |
| Floor bounces near walls | Double padding or soft subfloor | Remove the extra layer; screw down loose panels |
Installing Laminate Flooring Over Existing Floors
The old floor decides how much prep installing laminate flooring needs:
- Carpet: always comes out, with the pad and tack strip. Laminate cannot float on a soft surface.
- Sheet vinyl or vinyl tile: can usually stay if it is flat and firmly bonded. Older 9 by 9 inch tiles may contain asbestos, so leaving them in place is often the safer choice.
- Ceramic tile: often works if the tile is flat and the grout lines are not deep. See can you put laminate over tile for the checks.
- Hardwood: fine to float over when the boards are tight and do not squeak.
- Radiant heat: only with products approved for it, and the surface temperature limit in the instructions must be followed.
Every added layer raises the floor, so check door clearance and the height at transitions before deciding to leave an old floor in place.
Kitchens, Bathrooms and Basements
Standard laminate does not like standing water. Newer water-resistant planks with sealed edges handle spills and pet accidents far better, which makes them a fair choice for kitchens, as our guide to laminate flooring in the kitchen explains.
Full bathrooms and basements that have ever taken on water are a different story.
If the slab shows moisture, the sump pump runs often or the space smells musty in summer, a rigid core vinyl plank or tile is the better pick. In a dry basement, test the slab before installing laminate flooring, and choose a laminate underlayment with a built-in vapor film or lay separate poly. Our article is laminate flooring waterproof compares what the labels promise with what actually happens in a leak.
DIY vs Hiring a Pro: What It Costs
Laminate material alone runs about $1.20 to $3 per square foot for most mid-grade products. Add underlayment, transitions, trim and the tool kit, and a DIY bedroom typically lands well under the cost of professional work.
Around the DC area, professionally installed laminate including material usually falls between $5 and $9 per square foot, with removal, leveling and stairs priced separately. The professional laminate flooring installation guide breaks those numbers down by room, and the laminate cost calculator builds a budget from your measurements.
Installing laminate flooring yourself makes the most sense for small, simple rooms where you have time to work carefully. A pro is worth the money for whole floors, open layouts, stairs, uneven subfloors and basements, where a mistake means pulling up and replacing planks. If you go that route, our guide on comparing contractor bids shows what a complete quote looks like.
Installing Laminate Flooring FAQs
Which direction should laminate flooring run?
Most installers lay the planks along the room’s longest wall, or pointing at the main window, which makes the room look longer and hides the end joints. In narrow halls, run them lengthwise down the hall.
Do I need underlayment for laminate flooring?
Yes, unless the planks have a pad attached. The laminate underlayment cushions the floor, reduces sound and evens out tiny surface flaws. Over concrete, a 6 mil vapor barrier is also needed unless the pad includes one.
How big should the expansion gap be?
Most brands ask for roughly 3/8 inch around the perimeter and at anything fixed in place. Check your product, since some wide or long planks need more. The gap is hidden by baseboard or quarter round.
Can laminate be installed under kitchen cabinets?
No. Cabinets and islands should sit on the subfloor, with the laminate stopping at the toe kick and leaving the normal gap. A floating floor pinned under heavy cabinets cannot move and may buckle.
How long should laminate acclimate before installation?
Many manufacturers, including Pergo, ask for 48 hours in the room with the boxes unopened, the temperature between 60 and 85°F and humidity between 35% and 65%.
Can I walk on laminate right after installing it?
Yes. Click-lock laminate has no glue to cure, so it can take foot traffic right away. Wait to move very heavy furniture until trim and transitions are finished, and use felt pads.
Ready for a New Floor?
Installing laminate flooring yourself is very doable in a straightforward room, as long as the planks acclimate, the subfloor is flat and the gaps are respected. If you would rather skip the prep, the cutting and the knee pads, FIXO handles laminate flooring installation from removal through trim. Send your measurements through the FIXO instant quote page for a price.