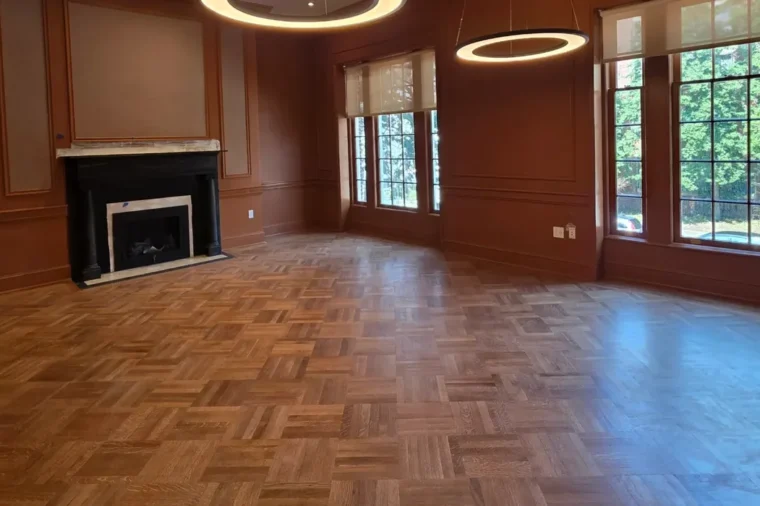
Subfloor leveling before flooring means making the base flat enough for the floor you are installing, and most hard floors need it flat to roughly 3/16 inch across 10 feet. Tile and patterned floors need it flatter. High spots are sanded or ground down, low spots are filled with a patch or self-leveling underlayment, and loose or damaged panels are fastened or replaced. Underlayment and thinset are not levelers, so the fix has to happen in the subfloor itself.
An uneven base is behind a long list of flooring complaints: click planks that bounce and pop apart, hardwood that squeaks, tile that cracks or sits proud of its neighbor. Most of those problems are decided before the first board goes down. That is why subfloor leveling before flooring is the step good installers refuse to skip.
This guide explains the difference between flat and level, how flat each floor type needs to be, how to check your own floor, the common ways installers fix it, how long it takes and what it adds to a quote. Alvin wrote it for FIXO, whose crews prep and install floors throughout the DC area, from Northern Virginia to suburban Maryland.
What this subfloor leveling guide covers
Key takeaways
- Flooring needs a flat subfloor, not a perfectly level one. A gentle, even slope across a room is usually fine.
- NWFA guidelines call for wood subfloors within 3/16 inch in 10 feet for glue-down and short-fastener installs, and 1/4 inch in 10 feet for nail-down with longer fasteners.
- Under ANSI A108.02, large tile with one side 15 inches plus needs the base within 1/8 inch over 10 feet and 1/16 inch over 24 inches.
- Self-leveling underlayments are walkable in a few hours, but many need overnight curing before flooring goes on.
- Bounce and squeaks are structural, not flatness problems, and need fastening or joist work before any leveler.
Flat Versus Level
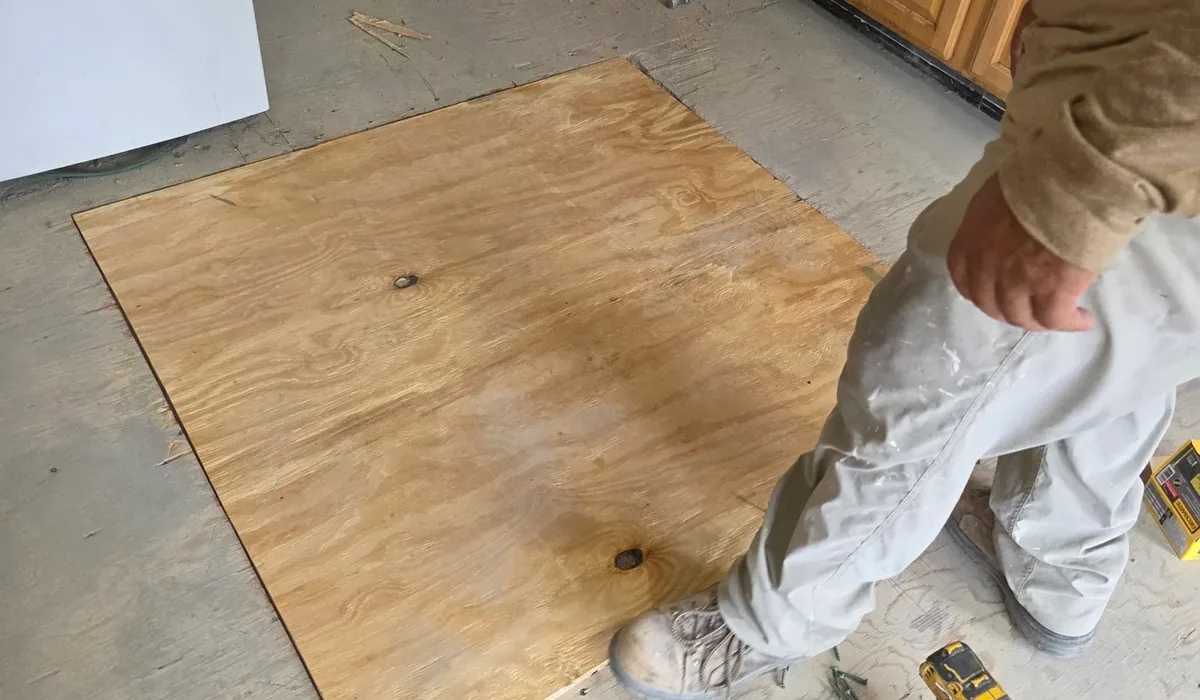
The term subfloor leveling before flooring is a little misleading. What a floor actually needs is flatness.
Level means horizontal, the way a bubble level reads it. Flat means free of sudden humps and dips across a span. A kitchen that drops a quarter inch from one wall to the other, evenly, is out of level but can still be flat. Planks and tiles follow a smooth slope without trouble. What breaks them is a short dip or crown that leaves part of the floor unsupported.
True out-of-level problems, such as a house that has settled several inches toward one corner, are structural. They are a job for a carpenter or engineer, not a bag of leveling compound.
How Flat Each Floor Needs to Be
The flooring manufacturer’s instructions always win, because they decide the warranty. When they are silent, these industry figures are the usual reference.
| Floor type | Typical flatness requirement | Source |
|---|---|---|
| Rigid core LVP and laminate | 3/16 inch in 10 feet | Most manufacturer instructions |
| Wood, glue-down or fasteners under 1-1/2 inches | 3/16 inch per 10 feet, or 1/8 inch per 6 feet | NWFA guidelines |
| Wood, nail-down with 1-1/2 inch or longer fasteners | 1/4 inch per 10 feet, or 3/16 inch per 6 feet | NWFA guidelines |
| Tile with all edges under 15 inches | 1/4 inch in 10 feet | ANSI A108.02 |
| Large tile, one side 15 inches plus | 1/8 inch over 10 feet, plus 1/16 inch over 24 inches | ANSI A108.02 |
| Herringbone click planks | Often 1/8 inch in 6 feet, with a tighter short-span limit | Manufacturer instructions |
The wood figures come from the National Wood Flooring Association installation guidelines, summarized by Wood Floor Business. The tile figures come from ANSI A108.02, as explained by the Ceramic Tile Education Foundation in Floor Trends. Patterned planks are stricter because every short piece rests on a small patch of floor, which is why some herringbone LVP lines, such as Flooret’s Modin Herringbone, set a tighter tolerance than the same brand’s straight planks.
How to Check Your Subfloor
You can get a good read on a floor with simple tools once the old flooring is up.
- Clear the floor. Remove tack strip, staples, adhesive ridges and debris so you measure the subfloor, not the leftovers.
- Use a long straightedge. A 6 or 10 foot aluminum straightedge or a straight piece of lumber works. Lay it in several directions across each room.
- Measure the gaps. Slide shims, feeler gauges or stacked coins under the straightedge at the deepest point. A US quarter is about 1/16 inch thick, so three stacked quarters is roughly 3/16 inch.
- Rock it. If the straightedge pivots in the middle, you have found a hump.
- Mark everything. Circle lows and highs with a marker so the installer can see the pattern.
- Walk it. Bounce, flex and squeaks under your feet point to loose panels or weak joists.
Installers often add a rotating laser level on larger rooms, because it shows the shape of the whole floor at once.
Why Subfloors Go Out of Flat
Knowing the cause tells you which fix will last.
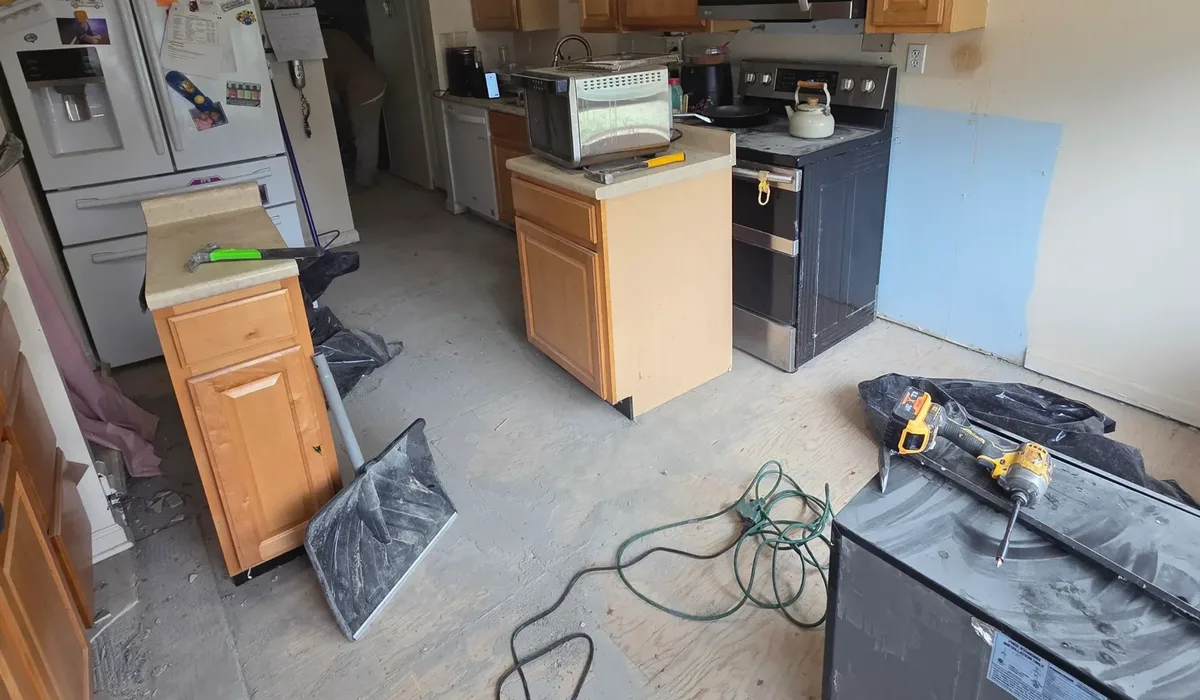
- Settled or crowned joists. Older DMV homes often have joists that sag between supports or crown upward, leaving a hump down the middle of a room.
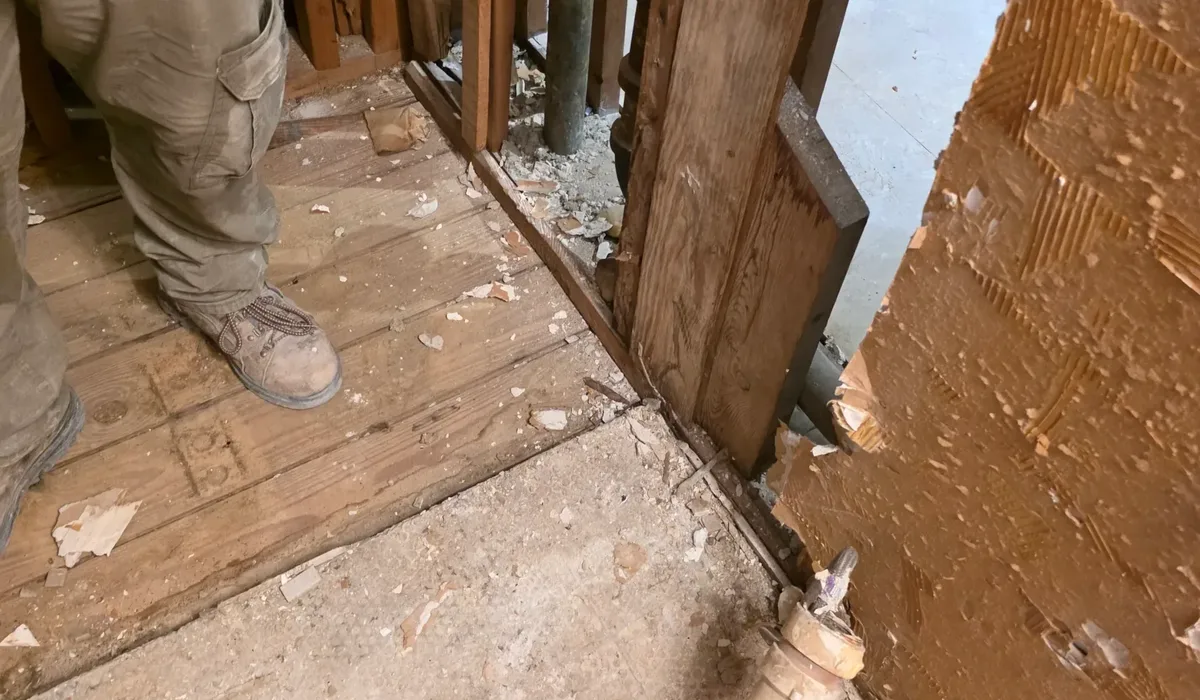
- Swollen panel edges. OSB and plywood edges that once got wet swell and stay raised, especially near kitchens, toilets and exterior doors.
- Old adhesive and patches. Ridges of carpet glue, vinyl mastic and earlier patches create small bumps.
- Slab finish and cracks. Concrete basements and slab-on-grade homes can have trowel marks, curled edges at control joints and settled cracks.
- Additions and removed walls. Where an old wall came out or an addition meets the original house, heights rarely match exactly.
Five Ways to Level a Subfloor
Most jobs use a mix of these methods. The right one depends on whether the problem is a high spot, a low spot or movement.
1. Sanding or Grinding High Spots
Raised panel edges and small humps in wood subfloors are sanded down with a floor sander or planed. On concrete, high spots and ridges are ground with a diamond grinder and dust shroud. This is usually the fastest fix when the floor is mostly flat with a few bumps.
2. Trowel Patch for Local Lows
A cement-based patching compound, troweled in and feathered out, fills seams, small dips and screw holes. It cures quickly and suits areas of a few square feet.
3. Self-Leveling Underlayment for Larger Lows
For a broad dip or a whole room that is wavy, installers pour a self-leveling underlayment. The floor is cleaned and primed, dams are set at doorways and gaps, then the mix is poured and spread so it finds its own level. Products differ, so curing follows the bag. As one example, ARDEX lists K 15 as walkable in about 2 to 3 hours, ready for moisture-insensitive tile in about 6 hours, and ready for other floor coverings in about 16 hours. Over wood subfloors, most systems also require a stiff base and often metal lath, so check the manufacturer’s rules first.
4. Re-Fastening or Replacing Panels
If the subfloor moves, a leveler will crack. Loose panels are screwed down to the joists. Delaminated, water-damaged or badly swollen panels are cut out and replaced. Sometimes a new layer of plywood underlayment over the old subfloor is the cleanest way to get a flat, stiff base, as long as door heights and transitions allow it.
5. Joist Repairs
A hump or valley that follows a joist line usually needs the joist itself corrected by planing a crown, sistering a new joist alongside, or shimming from below. Structural repairs belong with a carpenter, and in many counties they need a permit.
What Does Not Level a Floor
Two shortcuts come up often, and both lead to callbacks.
- Thick underlayment. Foam and cork pads add cushion and sound control over a base that already meets spec. They do not bridge dips. A plank over a soft pad and a hollow simply flexes more.
- Extra thinset. Building up tile mortar to chase a dip makes it shrink unevenly as it cures, which pulls tiles out of plane. The CTEF is blunt that thinset and large-tile mortars should not be used to flatten a surface.
If a quote suggests either as the fix, ask what happens to the low spot underneath.
How Long Subfloor Leveling Takes
Small fixes such as sanding a few seams or patching a dip add an hour or two to an install day. A self-leveling pour usually takes half a day of prep and pour, plus curing time before flooring, so many jobs pour one afternoon and install the next morning. Panel replacement and joist work can add a day, more if a carpenter is needed. A good installer tells you which of these applies at the measurement visit, not on install day.
What Subfloor Leveling Adds to a Quote
Leveling is priced by the area treated, not the whole room. In FIXO’s DMV planning figures, filling dips with a cement-based leveler runs about $1 to $2 per square foot of area treated, which is why a few low spots in a kitchen rarely move the total much. Whole-room pours, panel replacement and joist repairs cost more because of labor and material.
The quote should say plainly whether leveling is included, capped or billed after the old floor comes up. FIXO’s LVP installation cost calculator has a separate line for leveling, so you can see its effect on your project.
Signs a Floor Went Down on a Bad Base
If your current floor shows these, the subfloor is the likely cause and needs attention before anything new goes over it.
- Click planks that flex, pop or separate at the ends, or laminate that buckles.
- A hollow sound or soft feel in one area.
- Tiles that crack, sit higher than their neighbors or lose grout, as covered in our guide to tile installation mistakes.
- Hardwood boards that squeak or show gaps along one line.
- Doors that suddenly scrape the floor.
Subfloor Leveling Before Flooring FAQs
How flat does a subfloor need to be for LVP?
Most rigid core LVP and laminate makers set the limit near 3/16 inch across a 10-foot span. Some products and herringbone patterns are stricter, so the instructions for your specific plank are the final word.
Can I install flooring over an uneven subfloor?
Not if it is outside the manufacturer’s tolerance. The floor may look fine at first, but planks flex at the low spots and joints wear and separate. Tile cracks or sits uneven. It can also void the flooring warranty.
Does underlayment level a floor?
No. Underlayment adds cushion, sound control or a moisture barrier over a base that is already flat. It follows dips rather than filling them.
Can self-leveling compound go over a wood subfloor?
Many products can, but only over a stiff, well-fastened wood base, with the correct primer and often metal lath. Follow the product’s rules for minimum thickness and subfloor type.
How long does self-leveler take to dry?
Many are walkable in 2 to 3 hours. Most need several hours to overnight before flooring goes on. ARDEX, for example, lists about 16 hours for most floor coverings over K 15.
Is subfloor leveling included in a flooring quote?
It depends on the installer. Some include minor leveling, some cap it and some bill it after demolition. Ask before you sign, and get the answer in writing.
Getting Your Floor Ready
Subfloor leveling before flooring is the quiet step that decides whether a new floor feels solid for 20 years or starts clicking in the first winter. Measure for flatness, find the cause, fix movement before filling lows, and follow the flooring maker’s tolerance.
At FIXO, the same installer who takes your measurements checks the subfloor on that visit, and minor leveling and squeak fixes are already inside the fixed price. See our flooring installation services, read about how our process works, or use the instant quote form to get your price.
 4.9 on Google14 reviews
 Licensed & InsuredVirginia · Maryland · Washington, D.C.
 Workmanship GuaranteedInstallation backed in writing
 Locally OwnedServing NoVA, MD & D.C.