Rotting deck boards give way when you push a screwdriver tip into them, darken around screws and cut ends, and tend to split, cup or sag between joists. Grey boards that stay hard under the tip are only weathered and need a clean and a coat of sealer. Boards that feel soft, spongy or crumbly have to come out, and the joist beneath each one needs checking before anything new goes down.
This guide is a diagnostic walk-through. It shows the seven signs of deck rot, how to run the probe test, where decay usually begins on a deck, and how to tell rot from ordinary weathering. It ends with a 15-point deck inspection checklist you can print and take outside.
Alvin wrote it for FIXO, which handles deck board replacement for homeowners in Fairfax, Montgomery and Prince George’s counties and in the District. Every point below comes from published deck safety checklists and from what our crews find when they pull up old boards.
What this diagnostic guide covers
Key takeaways
- Soft or spongy wood under a screwdriver tip means decay. Hard grey wood means weathering.
- Rot starts where water sits: board ends, screw holes, gaps over joists, and boards near the house.
- A rotten board often hides a rotten joist. Probe the framing before you buy new boards.
- Pressure-treated pine still rots, because the treatment does not always reach the core.
- Inspect once a year. Fine Homebuilding notes a deck check takes less than an hour.
What rotting deck boards look like
Rot is fungus eating the wood. It needs moisture, mild temperatures and time, and the humid summers and wet springs around Washington give it all three. The fungus breaks down the fibers from the inside, so a board can look fine from a standing position and still fail when you step on it.
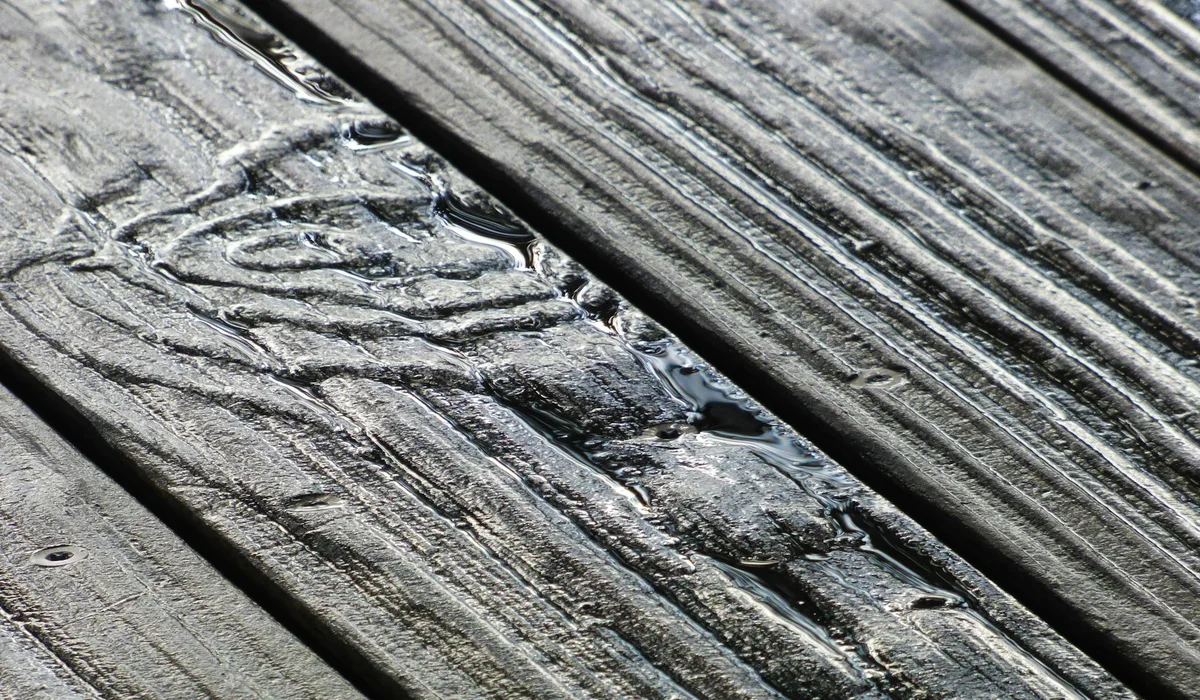
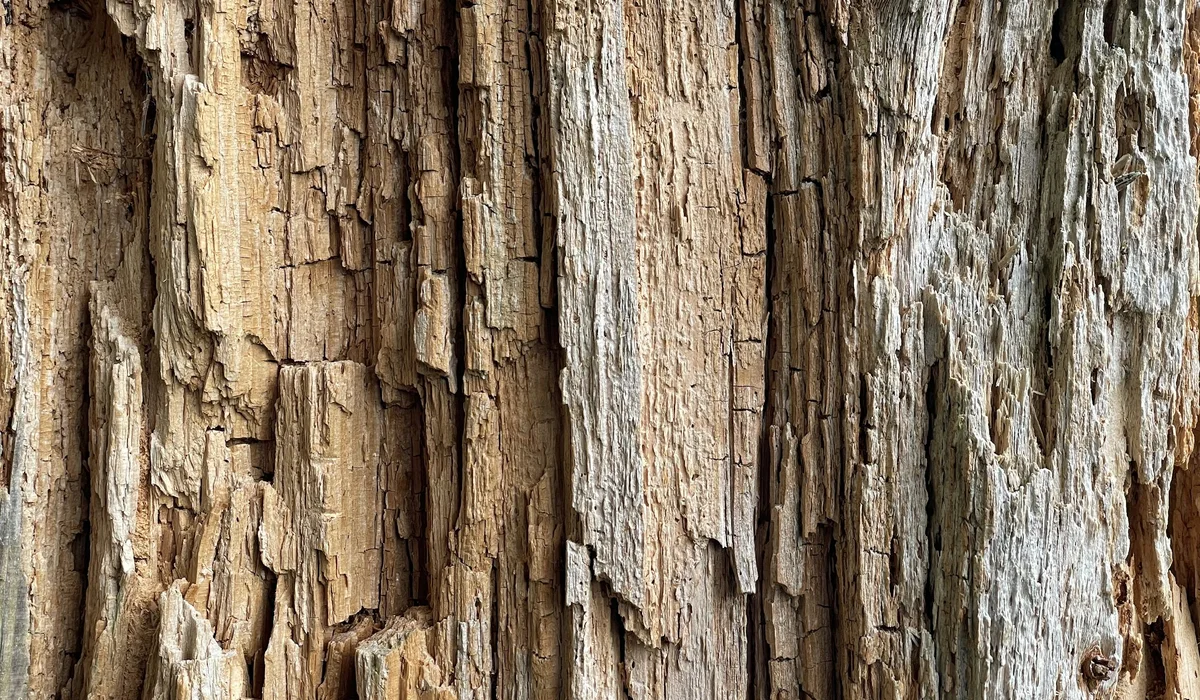
Up close, rotting deck boards usually show at least one of these: dark brown or black patches that stay damp after the rest of the deck dries, fibers that lift and crumble when you scrape them, and a surface that feels slightly soft under a heel. Brown rot leaves wood dark and cracked into small cubes. White rot leaves it pale and stringy.
The real test is touch, not color. Grey, faded wood can be perfectly sound, while a board with a decent finish can be soft underneath. That is why the probe test later in this guide matters more than any photo.
7 signs of deck rot to look for
Walk the whole deck slowly to find rotting deck boards, then look at it from underneath if you can reach the framing. These signs of deck rot are listed roughly in the order most homeowners notice them.
1. Soft or spongy spots underfoot
A board that flexes more than its neighbors, or feels like it gives slightly under a heel, has often lost strength in the middle. Mark the spot with tape and probe it later. This is one of the most common signs of deck rot.
2. Dark stains that never dry
Patches that stay dark long after rain has stopped are holding water, and rotting deck boards often start this way. Constant moisture is what decay fungi need, so treat these spots as suspects even if they still feel firm.
3. Crumbling board ends and screw holes
Cut ends soak up water like a straw. If an end breaks off in pieces when you press it, or the wood around a screw head is soft and the screw spins, the board is decaying.
4. Cupping, splitting and sagging
Boards that curl at the edges, split along their length or dip between joists are failing. On our deck board replacement page we put it simply: soft, cupped or splitting boards are past saving.
5. Mushrooms, moss or fungus growth
Any fruiting fungus growing on or between boards means decay is well established. Moss and green algae are not rot themselves, but they hold moisture against the wood and speed it up.
6. Small holes and fine sawdust
The NADRA homeowner checklist notes that small holes can point to insects. Carpenter ants and beetles favor wood that is already damp and softening, so insect damage and decay often turn up together.
7. Loose or rusted fasteners
Screws that back out, nails that pop and fasteners stained with rust are all warning signs. Corroded fasteners damage the wood around them, and loose ones let water into the hole.
The screwdriver probe test, step by step
The NADRA deck safety checklist recommends probing damp areas and spots where fasteners touch the wood with an ice pick or screwdriver. If the tool sinks in easily, or the wood feels soft and spongy, that suggests decay. Here is how to do it properly.
- Pick a dry day. Wet wood is softer, so a test after rain can give false alarms. Wait two or three dry days.
- Use a flat screwdriver or an awl. Hold it at about 45 degrees to the board.
- Press firmly by hand. Do not hammer it. Sound wood stops the tip after an eighth of an inch or so.
- Pry up a small splinter. Healthy wood breaks off in a long, sharp splinter. Rotten wood breaks off short and crumbly, with no fibers holding it.
- Test the suspects first. Start with the signs of deck rot you marked: dark patches, board ends, screw holes and the boards nearest the house.
- Then test the framing. Probe joist tops under any soft board, joist ends at the rim, the ledger and the base of each post.
- Mark and record. Put tape on every soft spot and note it on a sketch so you can count boards and joists later.
The splinter test is the most useful part. A short break with no fibers is a much clearer sign than how deep the tip goes, because hardness varies between wood species.
Where rot starts on a deck
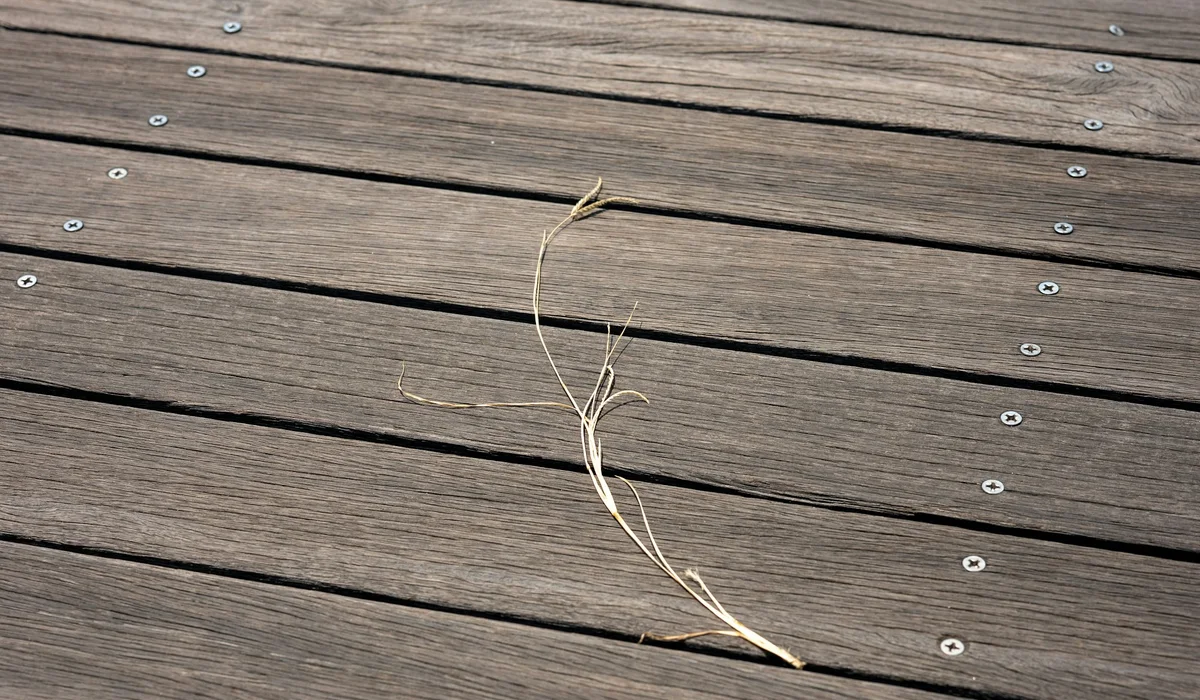
Decay follows water. Anywhere water lands and cannot drain or dry is a likely starting point. The rows of screws on a deck show you where the joists run, and those lines are worth probing first, because water collects where a board sits on a joist.
| Location | Why it rots | What to check |
|---|---|---|
| Board ends and butt joints | End grain soaks up water fast | Crumbling ends, dark tips, loose screws |
| Board tops over joists | Water sits in the gap between board and joist | Soft wood along screw lines |
| Boards next to the house | Roof runoff and splashback, less sun | Dark staining, moss, soft spots |
| Ledger board | Water gets behind poor flashing | Soft wood, rust streaks, cracks along bolt lines |
| Joist tops and ends | Hidden under boards, slow to dry | Probe from below; look for black, stringy wood |
| Post bases | Contact with soil, mulch or standing water | Soft wood at grade, posts buried in soil |
| Stair stringers and treads | Cut stringers expose end grain at every step | Soft notches, wobbly treads |
| Under planters and rugs | Trapped moisture, no airflow | Dark rings, soft boards |
The Fine Homebuilding deck safety article singles out the ledger as a common trouble spot, because water often leaks behind flashing that is poorly sized or poorly installed, even on newer decks. Rot there weakens the bolts that hold the deck to the house, so any soft wood at the ledger should be treated as urgent.
Rot or just weathering? A quick comparison
Many homeowners worry about grey, rough boards that are actually sound. Our deck board replacement page notes that grey, dry boards just need a clean and seal. Use this table to sort the two.
| Check | Weathered but sound | Rotting |
|---|---|---|
| Color | Silver or light grey, even | Dark brown, black or bleached in patches |
| Screwdriver tip | Stops near the surface | Sinks in easily |
| Splinter | Long and fibrous | Short, breaks off in crumbs |
| Surface | Rough, small surface checks | Deep cracks across the grain, soft fibers |
| After rain | Dries with the rest of the deck | Stays dark and damp for days |
| Fix | Clean, brighten and seal | Replace the board and check the joist |
If your boards land in the left column, see our guide on when to stain a deck for the right weather window. Sealing sound boards is the cheapest way to keep them from ending up in the right column.
Repair or replace rotting deck boards
Once you have marked the soft spots, count the rotting deck boards. The decision depends on how many boards are affected, whether the framing is sound, and how old the deck is.
| What you found | Likely fix |
|---|---|
| A few soft boards, framing solid | Replace those boards only, match width and thickness |
| Many soft boards spread across the deck | Replace the whole surface, keep sound framing |
| Soft joist tops under rotten boards | Sister or replace the joists, then new boards |
| Soft ledger or rot behind it | Stop using the deck and get a structural repair |
| Soft post bases | Replace posts and raise them off the soil |
| Grey but firm everywhere | Clean and seal, no boards needed |
Wood filler and epoxy can patch a small soft spot on trim, but they are not a fix for a walking surface. A deck board carries weight across a span, and filler does not restore that strength. Replacing the board is the honest repair.
When you replace only a few rotting deck boards, the new ones will look different for a season. Treated pine starts green or brown and weathers to grey. Cleaning and sealing the whole deck afterward helps the old and new boards blend.
How a board swap is done
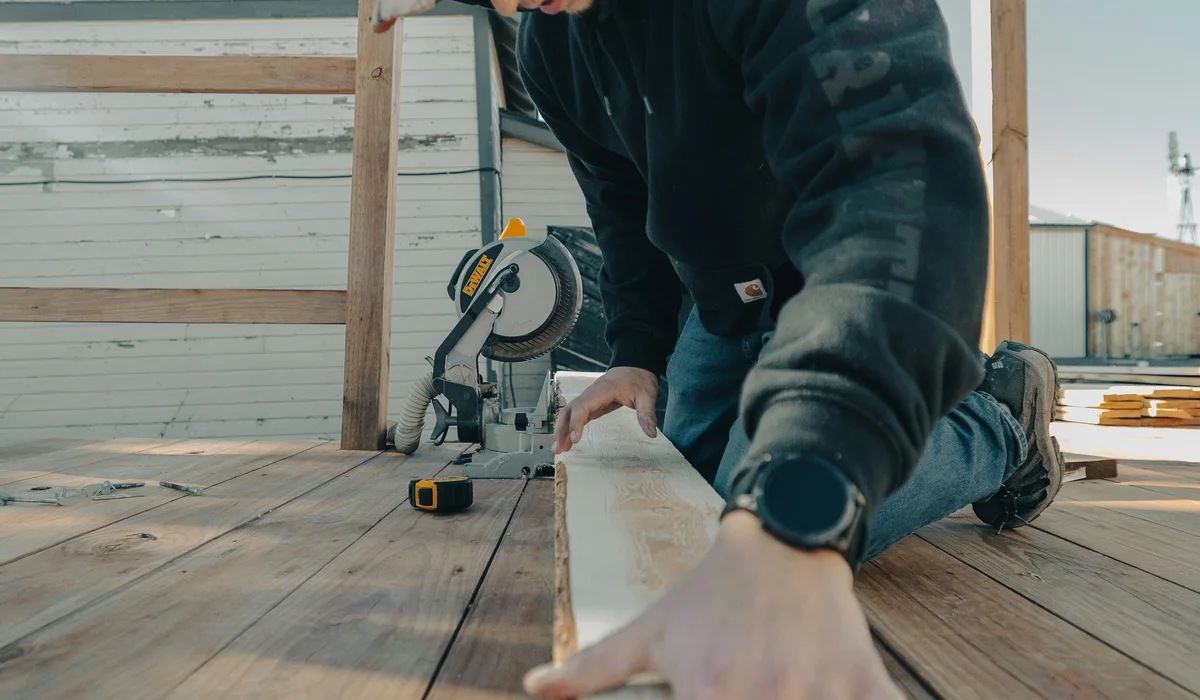
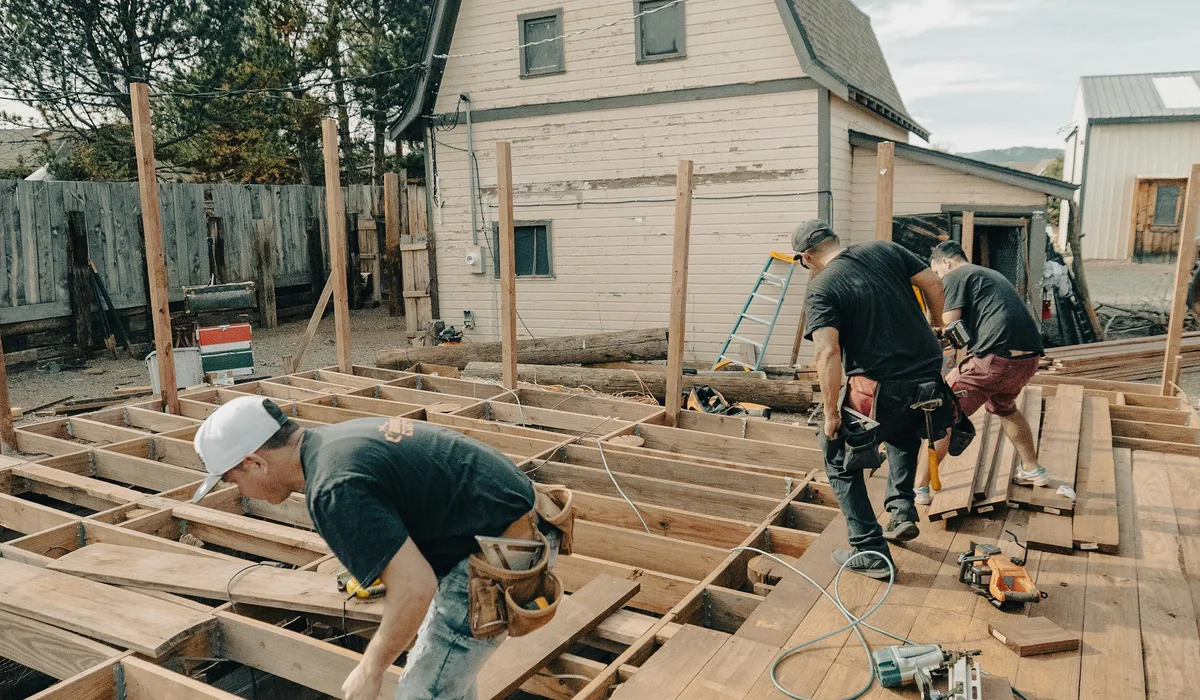
Our crews start by probing the joists, because laying new boards over soft framing just moves the problem. The old board is cut out between joists or pulled whole. Joist tops get a strip of joist tape to shed water. New boards go down with coated deck screws or hidden clips rather than nails, with a consistent gap so water drains. On most decks the work takes one to two days.
Deck inspection checklist: 15 points
This deck inspection checklist pulls together the NADRA homeowner checklist, the Fine Homebuilding safety points and what our crews check on a site visit. Print it and tick each line.
| # | Check | Pass if |
|---|---|---|
| 1 | Deck boards | No soft spots, cupping, splits or sagging |
| 2 | Board ends and screw holes | Firm, no crumbling, screws tight |
| 3 | Joists | Probe firm at tops and ends, all in hangers |
| 4 | Ledger | Bolted or lagged, not nailed only, no soft wood |
| 5 | Flashing | Present, intact, no water marks on siding or rim |
| 6 | Beams | No splits, firm, sitting fully on posts |
| 7 | Posts | Firm at the base, not buried in soil |
| 8 | Bracing | Tall posts braced, deck does not sway |
| 9 | Fasteners | No rust, no popped nails or loose screws |
| 10 | Railings | Posts and balusters do not move when pushed |
| 11 | Stairs | Treads firm, stringers sound, handrail solid |
| 12 | Open risers | Gap behind treads 4 in or less |
| 13 | Finish | Water beads; no bare, grey or mildewed areas |
| 14 | Debris and drainage | Gaps clear, no leaves or planters trapping water |
| 15 | Lighting and trees | Stair lights work, no dead limbs overhead |
On this deck inspection checklist, any failure on lines 3 to 8 is structural. Do not keep using the deck for parties or heavy loads until someone qualified has looked at it. Failures on lines 1, 2, 9, 13 and 14 are maintenance items you can usually schedule.
For railing heights and baluster gaps, line 10, our deck railing height guide has the code figures. For stairs, line 11, see our deck stair dimensions Q&A.
When to run the checklist
Early spring is the best time to work through the deck inspection checklist, after winter freeze and thaw and before the deck gets heavy summer use. A second, quicker look in fall, after leaves come down, catches drainage problems before winter. Fine Homebuilding notes that there are 40 million decks in the U.S. older than 20 years, so an older deck deserves both visits.
Why treated deck boards still rot
Many homeowners are surprised to find rotting deck boards on a deck built with pressure-treated lumber. Treatment slows decay, but it does not stop it.
Fine Homebuilding points out that treatment rarely penetrates more than half an inch into incised hem-fir, which can leave an untreated core. When a board splits, checks or gets cut on site, that core is exposed. Cut ends that were never brushed with a preservative are a common entry point.
Other causes of rotting deck boards we see often:
- Boards laid tight with no drainage gap, so water sits between them.
- A deck built low to the ground with no airflow underneath.
- Gutters that overflow onto the boards nearest the house.
- Years without a sealer, so the surface checks and lets water in.
- Planters, rugs and furniture left in one spot for months.
- Leaves packed into the gaps, which act like a wet sponge.
Cedar resists rot better than treated pine, and composite boards do not rot at all, though the wood framing under a composite deck can still decay.
How to stop rot coming back
Replacing rotten boards without fixing the cause means repeating the job in a few years. These steps make the most difference.
- Seal on schedule. Our deck board replacement page recommends sealing treated pine every two to three years. Our deck staining and sealing service handles the prep and coats.
- Protect joist tops. Joist tape keeps water off the top of each joist, where boards trap it.
- Keep gaps open. Clear leaves and dirt from between boards each fall with a putty knife or blower.
- Fix the gutters. Redirect downspouts and repair overflowing gutters above the deck.
- Move things around. Put planters on feet or stands, and lift rugs to let boards dry.
- Treat cut ends. Brush preservative on every cut end of new treated lumber.
- Check the flashing. The NADRA checklist suggests adding or replacing flashing anywhere water visibly collects at the house.
When to call a pro
A homeowner can safely probe boards and swap a few on a low deck. Call a professional when you find signs of deck rot at the ledger, posts or joists, when the deck sways, when more than a handful of boards are affected, or when the deck is high off the ground.
A professional visit should work through a full deck inspection checklist, including the framing, not just the boards. Ask for a written scope that lists which boards and which joists will be replaced, the screw or clip system, and whether joist tape and ledger flashing are included. If the whole deck is tired, our deck restoration service combines board work, repairs and finishing in one visit.
Rotting deck boards FAQ
How do I know if my deck boards are rotting?
Press a flat screwdriver into the board at an angle on a dry day. If it sinks in easily, or a pried splinter breaks off short and crumbly, the board is rotting. Firm wood with long splinters is sound, even if it looks grey.
Can I replace just a few rotting deck boards?
Yes, if the joists under them are sound. Probe the joist tops before you buy boards. Match the width and thickness of the old boards, and expect the new ones to look different until the deck is cleaned and sealed.
Is it safe to walk on a deck with rotting boards?
Avoid soft boards and keep heavy loads off the deck until you know whether the framing is affected. Soft wood at the ledger, joists or posts is a structural risk, so stop using the deck until it has been checked.
What are the first signs of deck rot?
The early signs of deck rot are dark patches that stay damp after rain, soft or crumbly board ends, screws that spin in their holes, and slight give underfoot. Moss and fungus growth usually appear later.
How often should I inspect my deck?
Once a year in early spring, with a quick second look in fall. Use a deck inspection checklist that covers boards, joists, ledger, flashing, posts, railings and stairs, not just the surface.
Does pressure-treated wood rot?
It can. Treatment may not reach the core of the board, so splits, cut ends and constant moisture let decay in. Sealing regularly, keeping gaps clear and treating cut ends all slow it down.
Next step: get your deck checked
If your probe test turned up soft spots, our team can check the framing and give you a fixed price for replacing the damaged boards. Start with an instant quote, and we will confirm the details on site.