Most problems with painting a ceiling come from paint drying unevenly. Roller marks, stripes, shiny patches and visible brush bands all form when one section dries before the next pass blends into it. The fix is usually the same: prime any patches or stains, keep a wet edge, roll the whole ceiling in one session in a flat finish, and add a second coat once the first is fully dry.
This is a troubleshooting guide. Find the problem you are seeing in the quick diagnosis table, jump to its section, and you will get the cause, the fix and how to stop it happening next time. A short method at the end pulls it all together for your next room.
The guide is by Alvin, written for FIXO, which repaints rooms through our walls and ceilings color refresh service at a fixed price per room. The fixes follow Benjamin Moore’s published ceiling advice and the way our painters handle ceilings on site.
What this troubleshooting guide covers
- Quick diagnosis table
- 1. Roller marks and stripes
- 2. Flashing over patches
- 3. Visible cut-in bands
- 4. Stains bleeding through
- 5. Drips and spatter
- 6. Patchy, thin coverage
- 7. Peeling or bubbling
- 8. Cracks and nail pops
- 9. Textured and popcorn ceilings
- Choosing ceiling paint and tools
- Five-minute pre-check
- A method that avoids all nine
- FAQ
Key takeaways
- Paint the ceiling before the walls, as Benjamin Moore recommends.
- Use a flat ceiling paint. Sheen shows every seam and roller pass.
- Spot-prime filled holes and stains, or they will show through the finish.
- Roll toward the window and work from wet paint into dry, never the other way.
- Finish each ceiling in one session so it dries evenly.
Painting a ceiling: quick diagnosis table
Before painting a ceiling again, look at it with a light on and from an angle, ideally with daylight coming across it. Match what you see to a row below.
| What you see | Likely cause | Go to |
|---|---|---|
| Parallel stripes or ridges | Lost wet edge, uneven roller pressure | Problem 1 |
| Shiny or dull spots in specific places | Unprimed patches or touch-ups | Problem 2 |
| A frame-like band around the edges | Brushed edge dried before rolling | Problem 3 |
| Yellow or brown rings showing through | Water, smoke or tannin stains | Problem 4 |
| Speckles on walls and floors, runs on the ceiling | Overloaded roller, wrong nap | Problem 5 |
| Old color or grey patches visible | Too little paint, one coat | Problem 6 |
| Flakes, blisters or bubbles | Dirty, glossy or damp surface | Problem 7 |
| Lines along seams, small round bumps | Drywall movement, popped nails | Problem 8 |
| Texture loosening or falling | Rolled texture absorbed too much paint | Problem 9 |
1. Roller marks on ceiling and stripes
Roller marks on ceiling surfaces are the most common complaint, and they are easiest to see in raking light from a window. They show up as parallel bands, ridges along the edge of each pass, or areas that look slightly darker than their neighbors.
Why it happens
The main cause is lap marks: rolling fresh paint over a strip that has already started to dry. Painting a ceiling makes this worse, because warm air collects up high and paint sets faster than on walls. Pressing hard to squeeze out a dry roller leaves ridges at the roller ends, and a roller that is not reloaded often enough spreads paint too thin.
How to fix it
Let the paint dry fully. Lightly sand any ridges with a fine sanding sponge on a pole, wipe off the dust, then roll a full new coat over the whole ceiling in one session. Spot-rolling only the striped area almost always leaves a new set of roller marks on ceiling edges around the repair.
How to prevent it
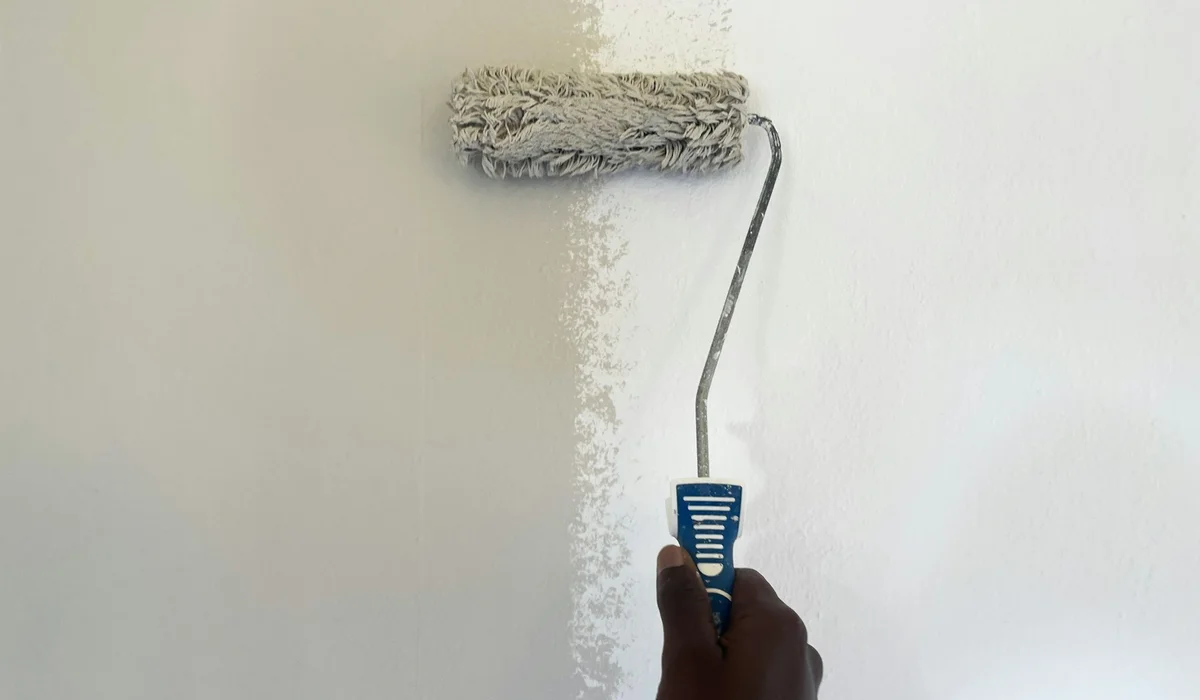
The Benjamin Moore ceiling guide suggests starting in a corner and rolling toward a window, so light reflects off the wet paint. Each time you reload, move to an unpainted area and work back into the painted area. Keep the roller loaded, use light pressure, and finish the whole ceiling before stopping, which is the surest way to avoid roller marks on ceiling sections. Our painters roll wet-on-wet for the same reason.
When painting a ceiling, turning off the HVAC fan also helps, because moving air dries the surface faster and shortens the time you have to blend each pass.
2. Flashing: shiny or dull patches
Flashing is when certain spots catch the light differently from the rest of the ceiling. It usually lines up with filled nail holes, patched cracks or earlier touch-ups.
Why it happens
Joint compound and bare drywall absorb paint differently from painted surfaces. The patch soaks up binder from the first coat, so it dries with a different sheen. Our color refresh page makes the same point: a patch left unprimed shows up as soon as light crosses it.
How to fix and prevent it
Spot-prime each patch with a drywall primer, let it dry, then repaint the whole ceiling plane rather than just the spot. New drywall should always be primed in full before any finish coat, which Benjamin Moore also advises.
3. Visible cut-in bands around the edges
Sometimes a ceiling looks fine in the middle but has a band a few inches wide around the room that looks different. Painters call this picture framing.
Why it happens
Brushed paint goes on thicker and with a different texture than rolled paint. If the whole room is cut in first and rolled an hour later, the brushed band has already dried and will not blend.
How to fix and prevent it
Repaint by cutting in one wall’s length at a time and rolling that section straight away, while the brushed edge is still wet. Roll as close to the edge as you safely can so the roller texture covers most of the brushed band. If you are painting the walls too, Benjamin Moore suggests feathering the ceiling paint 2 to 3 inches down the wall; the wall color then covers it.

4. Stains bleeding through
Water rings, smoke residue and some old marks come straight back through fresh paint, often within a day.
Why it happens
These stains are water-soluble or oily, so they dissolve into a water-based ceiling paint and rise to the surface as it dries. Extra coats of regular paint rarely solve it.
How to fix and prevent it
First make sure the source, such as a roof leak, a bathroom above or a dripping pipe, has been repaired and the drywall is dry. Then spot-prime the stain with a stain-blocking primer. Benjamin Moore notes that stain blockers stop smoke, tannin and water stains from bleeding through, and that you can prime only the stained areas. Paint the full ceiling after the primer dries.
5. Drips, runs and spatter
Painting a ceiling means gravity works against you. Spatter on walls, floors and your face is a sign the roller or the technique needs adjusting.
Why it happens
An overloaded roller, rolling too fast, or a long-nap sleeve on a smooth ceiling all throw paint. Runs form when too much paint goes on in one spot and sags before it sets.
How to fix and prevent it
Wipe fresh spatter immediately with a damp cloth. Sand dried runs flat and touch up. Next time, roll the sleeve in the tray grid until it is evenly loaded but not dripping, move at a steady, moderate pace, and choose a nap that suits the ceiling texture. Cover everything below with drop cloths, as you would for any overhead work.
6. Patchy, thin coverage
Grey shadows, old color showing through or areas that look see-through mean the film is too thin.
Why it happens
One coat is often not enough, especially over a stained, yellowed or darker ceiling. Spreading paint too far to save time has the same effect.
How to fix and prevent it
Benjamin Moore advises waiting for the first coat to dry before deciding whether a second is needed. On our color refresh jobs, two full coats are the standard, with a tinted primer first on big color changes. Our paint calculator includes ceilings, so you can buy enough for two coats at once.
7. Peeling, flaking or bubbling
Paint that lifts, flakes or blisters has lost its grip on the surface underneath.
Why it happens
Common causes are painting over dust, cooking grease or nicotine, painting over a glossy older finish without scuffing it, and moisture in bathrooms and kitchens. Bubbles that appear right away can also come from rolling over a surface that is still damp.
How to fix and prevent it
Scrape loose paint back to a firm edge, feather the edges with sandpaper, and clean the surface. Kitchen ceilings usually need degreasing. Prime bare areas, then paint. In bathrooms, fix the ventilation as well, or the problem will return.
8. Cracks along seams and nail pops
Straight cracks along drywall joints and small round bumps are not paint failures, but painting a ceiling over them just highlights them.
Why it happens
Houses move with temperature and humidity. Drywall tape can loosen, and nails or screws can push out through the surface over time.
How to fix and prevent it
Reset popped fasteners and add a drywall screw beside each one. Cut out loose tape, re-tape and feather the joint with compound. Sand smooth, spot-prime the repairs, then paint. Our painters fill and sand every nail pop and dent before any paint goes on.
9. Textured and popcorn ceilings
Sprayed textures soak up paint quickly and can loosen if they get too wet, coming off on the roller.
Why it happens
The texture is porous and only lightly bonded, so a wet roller can dissolve it. Repeated passes over the same spot make it worse.
How to fix and prevent it
Use a thick-nap roller, load it well, and make a single pass in each area without working it back and forth. Some painters spray textured ceilings instead. In older homes, test before you scrape or sand. The EPA asbestos guidance says you generally cannot tell by looking whether a material contains asbestos, and recommends an inspection before remodeling.
Choosing ceiling paint and tools
The right ceiling paint solves several problems before they start. Ceilings are lit from the side by windows and lamps, which shows every flaw, so the product choice matters more than on walls.
| Choice | What to use | Why |
|---|---|---|
| Sheen | Flat or dead flat | Hides seams and roller passes |
| Product | A dedicated ceiling paint | Made for flat, even coverage overhead |
| Color-changing option | Paint that goes on tinted and dries white | Shows missed spots while wet |
| Primer | Drywall primer for patches, stain blocker for stains | Prevents flashing and bleed-through |
| Brush | 2 1/2 in angled sash brush | Clean cut-in lines |
| Roller | 9 in frame, quality sleeve, nap to suit the texture | Even film without spatter |
| Reach | Extension pole and a sturdy step ladder | Steady pressure, less fatigue |

Benjamin Moore’s Waterborne Ceiling Paint is a dead flat product, and its Insl-X color-changing ceiling paint dries to a flat white. Our crews use flat or matte ceiling paint to hide seams and keep eggshell or satin for walls, where wipeability matters more. A smooth ceiling usually takes a shorter nap than a textured one; the sleeve packaging will say which surfaces it suits.
Before painting a ceiling: a five-minute check
Many of the nine problems above can be spotted before the first drop of paint. Spend five minutes on this check and you will know what prep the ceiling needs.
- Side light. Shine a flashlight across the ceiling at a low angle. Cracks, ridges, old roller marks on ceiling patches and nail pops all cast shadows.
- Stains. Mark every ring or discolored spot with painter’s tape so it gets a stain blocker.
- Tape test. Press a strip of masking tape onto the old paint and pull it off quickly. Paint on the tape means poor adhesion, so scrape and prime first.
- Grease check. Wipe a kitchen ceiling with a damp white cloth. A yellow or brown cloth means it needs degreasing.
- Texture check. Run a gloved hand lightly over textured areas. If texture crumbles, plan a gentle single-pass approach and test older materials before disturbing them.
- Height check. Measure the ceiling height so you buy the right pole length and know whether a ladder is safe.
Writing these findings down before painting a ceiling turns a vague job into a short prep list, and it tells you how much primer and ceiling paint to buy.
A method for painting a ceiling that avoids all nine problems
This is the order our painters follow, condensed for a single room. It assumes the walls will be painted afterward.
- Clear and cover. Move furniture to the center, cover it, and mask the floor.
- Repair. Fill holes and cracks, reset nail pops, sand smooth.
- Prime. Spot-prime patches with drywall primer and stains with a stain blocker.
- Kill the airflow. Turn off ceiling fans and the HVAC fan.
- Cut in one section. Brush along one wall, feathering slightly onto the wall.
- Roll straight away. Start in a corner and roll toward the window while the edge is wet.
- Work wet into dry. Reload often, start each load in unpainted ceiling and blend back.
- Finish in one go. Complete the whole ceiling before taking a break.
- Check, then recoat. When dry, inspect in side light and apply a second full coat.

Painting the ceiling first matters. Any ceiling paint that lands on the walls gets covered when the walls are painted, so you do not need perfect tape lines up top. Our color refresh crews cut in and roll the ceiling first, then cut in and roll the walls in two coats.
When to call a painter
High or vaulted ceilings, stairwells, water-damaged areas and textured ceilings in older homes are all reasonable jobs to hand over, as is any room where roller marks on ceiling areas keep coming back after two attempts. So are whole-house repaints, where the time saved is significant. Our interior painting service covers full rooms with trim, and our trim painting service handles baseboards and casings on their own.
Painting a ceiling FAQ
How do I get rid of roller marks on a ceiling?
Let the paint dry, lightly sand any ridges, then roll a full new coat over the whole ceiling in one session. Keep the roller loaded, use light pressure and always work from unpainted areas back into wet paint.
Should I paint the ceiling or walls first?
Ceiling first. Benjamin Moore recommends painting the ceiling before the walls, so any paint that touches the walls is covered when they are painted.
What sheen is best for ceiling paint?
Flat or dead flat. A flat ceiling paint hides seams, minor dents and roller passes, which are easy to see on a ceiling lit from the side by windows.
Do I need to prime a ceiling before painting?
Not always. Spot-prime patches and stains, and prime new drywall in full. A ceiling that is clean, sound and the same color usually needs no primer.
How many coats does a ceiling need?
Usually two, especially over stains, patches or a yellowed ceiling. Let the first coat dry and check it in side light before deciding.
Why does my ceiling look patchy after painting?
Patchiness usually comes from unprimed patches flashing through, from a single thin coat, or from roller marks on ceiling sections that dried before they were blended. Prime the patches and roll a full second coat.
Next step: get your ceilings done
If you would rather skip the ladder, our walls and ceilings color refresh crews patch, prime and roll two coats with most rooms finished the same day. Get a fixed price per room through our instant quote.