Painting kitchen cabinets works when the prep is right: degrease every surface, scuff-sand, use a bonding or stain-blocking primer, then apply a cabinet enamel, ideally sprayed. Most peeling comes from skipping the degreaser, using wall paint, or recoating and using the cabinets too soon. Benjamin Moore, for example, lists 16 hours before recoating its Advance enamel and up to 30 days for full hardness.
A fresh coat of paint is one of the fastest ways to change a kitchen, and it costs a fraction of new cabinets. It is also one of the most common DIY projects to go wrong. Chips at the pulls, peeling on the edges of doors and tacky shelves that stick to dishes all trace back to a handful of avoidable mistakes.
This guide walks through the nine mistakes that make cabinet paint fail, then covers the best paint and primer for each cabinet material, a realistic timeline and when to call a pro. Alvin wrote it for FIXO, which offers kitchen cabinet refinishing across Northern Virginia, Maryland and DC, using paint makers’ product data as the source for each number.
What this cabinet painting guide covers
Key takeaways
- Kitchen grease is the number one cause of peeling. Degrease before you sand, not after.
- Benjamin Moore’s Advance data sheet calls for sanding cabinetry with 220-grit or coarser paper before priming.
- Oak and cherry need a stain-blocking primer so tannins do not bleed through light colors.
- Use a cabinet enamel, not wall paint. Waterborne alkyd and urethane enamels level out and cure hard.
- Paint feels dry long before it is hard. Treat painted cabinets gently for the first few weeks.
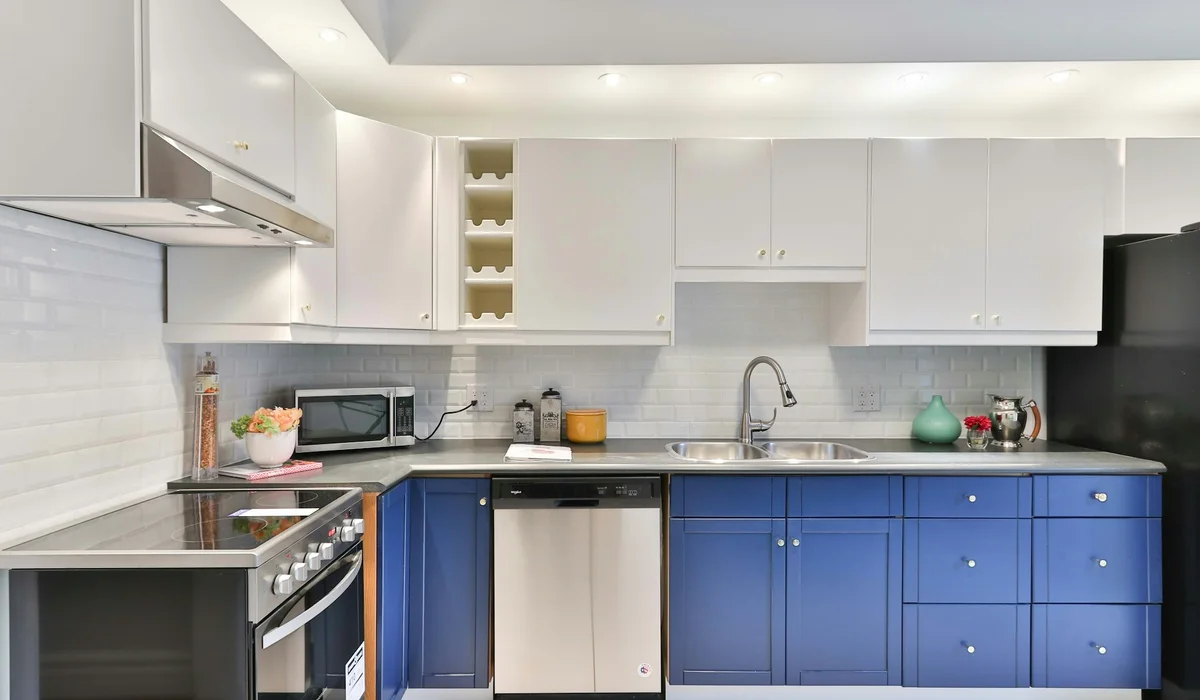
Before You Start: Is Your Kitchen a Good Candidate?
Paint changes the color, not the condition. Check the boxes and doors before buying supplies.
| Cabinet material or condition | Paint it? | Notes |
|---|---|---|
| Solid wood (oak, maple, cherry) | Yes | Oak grain shows through unless filled |
| Previously painted wood or MDF | Yes | Test that the old paint is sound and not peeling |
| Laminate | Yes, with a bonding primer | Slick surfaces need a primer made to grip them |
| Thermofoil that is peeling | No | The vinyl skin will keep lifting under the paint |
| Particleboard swollen from a leak | No | Paint will not fix swelling; replacement or refacing is needed |
If the layout works and the boxes are solid, painting kitchen cabinets gives the best return of any kitchen update. If the layout is the real problem, a complete kitchen remodel is money better spent.
9 Mistakes When Painting Kitchen Cabinets
1. Skipping the Degreaser
Kitchen cabinets carry a thin film of cooking oil, especially around the range and on the pulls. Paint will not bond to it. Benjamin Moore’s data sheet for Advance says surfaces must be free of dirt, grease, oil, soap and wax. Clean every door, drawer front, box and edge with a degreaser, rinse, and let it dry before sanding. Sanding a greasy surface just pushes the oil into the scratches.
2. Sanding Too Little, or Too Much
The goal is to dull the existing finish so primer can grip, not to strip it. Benjamin Moore calls for sanding cabinetry with 220-grit or coarser paper before priming, with light sanding between coats. Wipe off all dust with a tack cloth or a damp microfiber rag before the cabinet primer goes on. Shiny spots left behind are where peeling starts.
3. Choosing the Wrong Cabinet Primer
Primer is where most painting kitchen cabinets projects succeed or fail. Bob Vila’s primer guide points out that oak releases tannins that bleed through finishes, so a stain-blocking primer is needed. Shellac-based primers block tannins and dry fast; Zinsser B-I-N is ready for the next coat in about 45 minutes. Laminates are designed to be nonstick, so they need a bonding primer that is made to grip slick surfaces.
4. Using Wall Paint
Interior wall latex stays slightly soft and can feel tacky on doors that rub and close all day. Cabinet enamels, such as waterborne alkyds and urethane-modified acrylics, level out to a smoother finish and cure harder. Of all nine mistakes, this one separates lasting finishes from peeling ones most clearly. The best paint for kitchen cabinets is built for doors that are touched dozens of times a day.
5. Brushing and Rolling Everything
Brushes and rollers can give a good result with the right tools; Benjamin Moore recommends a premium nylon or polyester brush and a microfiber roller for Advance. But spraying doors flat gives the smoothest, most even film. The Advance data sheet lists airless spraying at 1,500 to 2,500 PSI with a .011 to .015 tip, or HVLP at about 20 PSI.
6. Painting Doors on Their Hinges
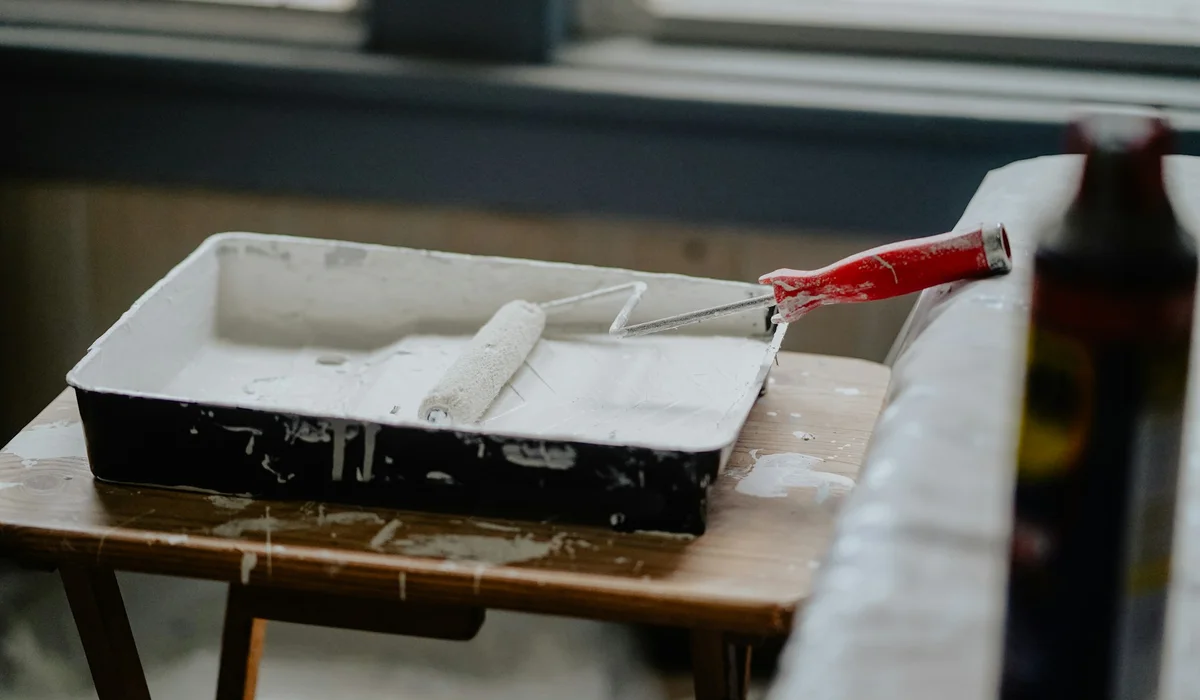
Painting doors in place leads to drips on vertical faces, missed edges and paint on the hinges. Number each door and drawer front with tape inside the hinge hole, remove them and the hardware, and paint them flat on racks. Paint the boxes, face frames and end panels in place behind masking.
7. Recoating Too Soon
Touch-dry is not recoat-ready. Benjamin Moore lists Advance as dry to the touch in 4 to 6 hours but ready to recoat after 16 hours at 77°F and 50% humidity, and cooler or more humid conditions stretch both times. Recoating early traps solvent and leaves a soft, easily marked film.
8. Rushing the Cabinets Back Into Use
Enamels gain hardness for weeks. The same data sheet says to wait at least 3 to 5 days before returning shelves to service, and that optimum hardness and final sheen can take up to 30 days. During that window, add clear bumpers to doors, avoid stacking heavy dishes on shelves and close doors gently.
9. Ignoring Lead Paint and Conditions
In homes built before 1978, old cabinet finishes may contain lead. The EPA’s lead renovation rule requires contractors to use lead-safe practices when disturbing painted surfaces in pre-1978 homes. Paint also needs the right conditions: Benjamin Moore lists a surface temperature of 50 to 90°F for Advance. Keep the kitchen ventilated, warm and dust-free.
How to Paint Kitchen Cabinets: The Right Order
Avoiding the mistakes is easier with a clear sequence. Here is the order professionals follow when painting kitchen cabinets:
- Empty the cabinets and cover counters, floors and appliances.
- Remove doors, drawer fronts and hardware, labeling each piece and its hinge location.
- Degrease every surface, rinse and let dry.
- Fill dents and old hardware holes if you are changing pulls.
- Scuff sand, then vacuum and tack off the dust.
- Apply the cabinet primer suited to the material and let it dry per the label.
- Lightly sand the primer smooth and remove dust again.
- Apply the first coat of enamel, doors flat and boxes in place.
- Wait the full recoat time, sand lightly and apply the second coat.
- Let doors cure before rehanging, then adjust hinges and fit hardware.
Skipping or reordering any of these steps is where most painting kitchen cabinets projects go wrong.
Best Paint for Kitchen Cabinets: What to Look For
The best paint for kitchen cabinets is a dedicated cabinet or trim enamel. Here is how the common options compare.
| Paint type | Pros | Cons |
|---|---|---|
| Waterborne alkyd enamel | Levels like oil, cleans up with water, cures hard | Long recoat and cure times |
| Urethane-modified acrylic enamel | Faster recoat, good block resistance, low odor | Can show brush marks if overworked |
| Solvent-based alkyd (oil) | Very hard, smooth finish | Strong fumes, solvent cleanup, whites can yellow over time |
| Interior wall latex | Cheap, easy | Stays soft, sticks and chips on cabinets |
Sheen. Satin and semi-gloss wipe clean more easily than matte and hide fewer flaws than high gloss. Most kitchens land on satin for a modern look or semi-gloss for traditional kitchens.
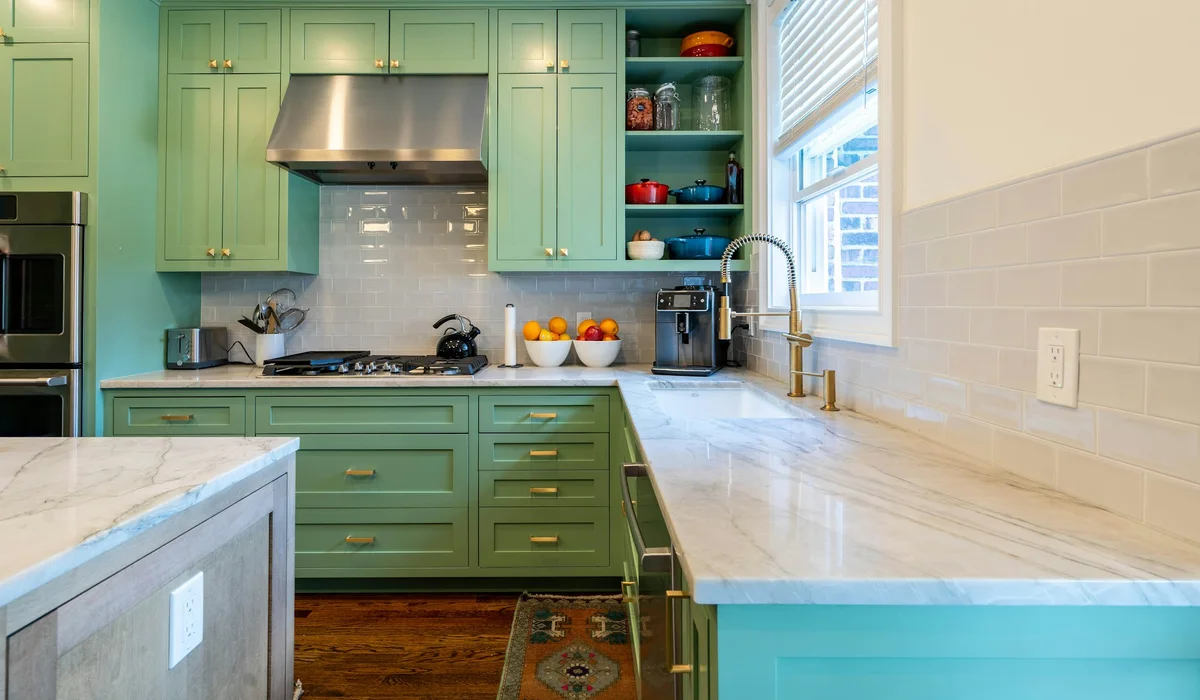
Color. White and off-white remain popular, while greens and blues are common on lower cabinets and islands. Two-tone schemes hide wear on the lowers and keep uppers bright.
Cabinet Primer by Material
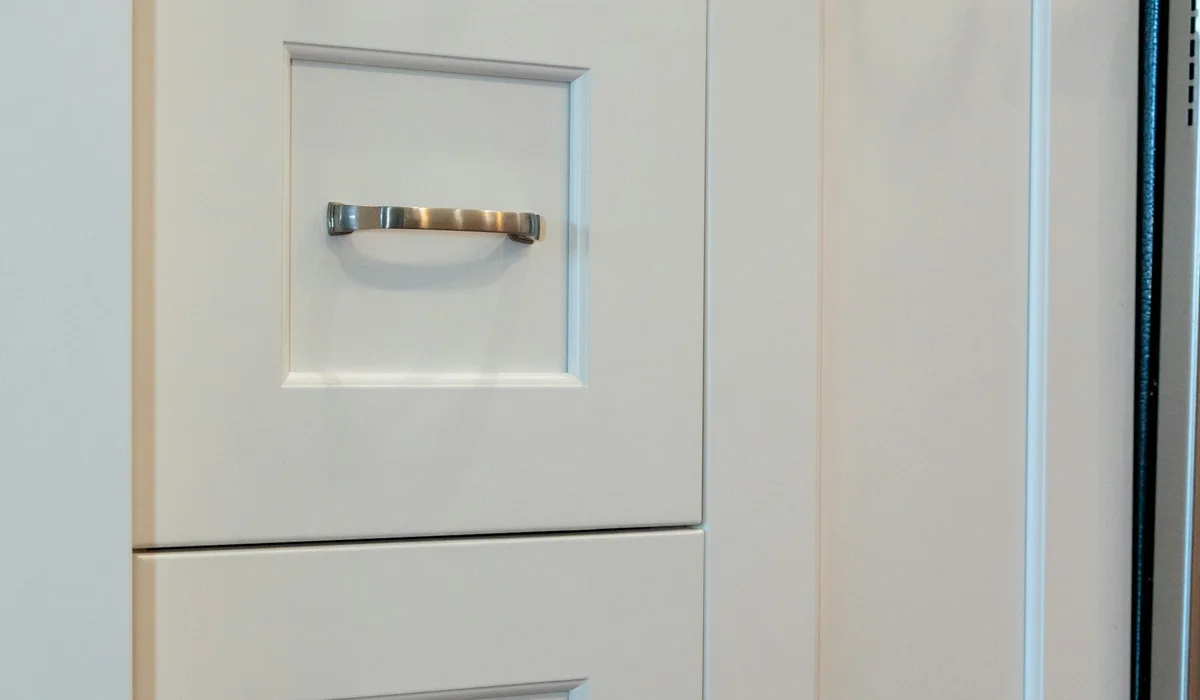
Match the cabinet primer to what you are painting over, and check that it is compatible with your topcoat.
| Surface | Primer type | Why |
|---|---|---|
| Oak or cherry, stained and clear-coated | Shellac or stain-blocking primer | Stops tannin bleed through light colors |
| Previously painted wood or MDF | Bonding primer or the enamel maker’s matching primer | Grips old paint after scuff sanding |
| Laminate or melamine | High-bonding primer | Slick, nonporous surfaces need extra grip |
| Bare MDF edges | Sealing primer, often two coats | Raw MDF edges soak up paint and turn fuzzy |
For oak, decide early whether you want the grain to show. A grain filler applied before the cabinet primer gives a smooth, modern finish; skipping it leaves the texture visible through the paint.
Choosing Colors and Hardware
Color choice affects how forgiving the finish is. Very dark colors show dust and fine scratches; bright whites show grime near the pulls. Mid-tone greens, blues and warm whites hide daily wear best. Test samples on a door in your own kitchen light before deciding, since cabinet colors read differently next to countertops and flooring.
New hardware finishes the look. If the new pulls use different hole spacing, fill the old holes before priming so they disappear under the paint. Painting kitchen cabinets and changing hardware at the same time costs little extra and makes the biggest visual difference. Pair the best paint for kitchen cabinets with soft-close hinges if your doors slam.
A Realistic Timeline for Painting Kitchen Cabinets
The painting itself is quick. The waiting is what takes time.
| Stage | DIY (typical) | Professional crew |
|---|---|---|
| Remove, label and degrease | 1 day | Day 1 |
| Sand and prime | 1 to 2 days | Days 1 to 2 |
| Two finish coats with recoat time | 2 to 3 days | Days 3 to 5 |
| Rehang, adjust, new hardware | 1 day | Days 5 to 7 |
| Gentle use while the finish hardens | Up to about 30 days | Up to about 30 days |
FIXO’s crews typically finish a kitchen in about a week, spraying doors in a separate setup while the boxes are done in place.
DIY or Professional Cabinet Refinishing?
Painting kitchen cabinets yourself saves labor but costs time and needs space: a garage or spare room for drying racks, a sprayer or good brushes, and a kitchen out of action for a week or more. It works best for small kitchens with solid wood or previously painted doors.
A professional job makes sense for large kitchens, laminate or oak that needs grain filling, and anyone who wants a sprayed, factory-like finish without living in the mess. FIXO’s service page notes that refinishing usually costs around a fifth of replacing cabinets when the boxes and layout are worth keeping.
Refinish, reface or replace? Refinishing changes the color of the cabinets you have. Refacing swaps in new doors and drawer fronts and veneers the boxes, useful when the doors themselves are worn out. Full replacement is the answer for water-swollen boxes or a kitchen layout that no longer works.
What Painting Kitchen Cabinets Costs
The cost of painting kitchen cabinets depends mostly on the number of doors and drawer fronts, not the square footage of the kitchen. Each piece has to be removed, cleaned, sanded, primed and coated on both sides.
For DIY, budget for degreaser, sandpaper and sanding sponges, primer, enamel, quality brushes and rollers or a sprayer, tape, plastic sheeting and drying racks. Professional pricing usually adds line items for:
- Grain filling on oak for a smooth finish
- Painting cabinet interiors as well as exteriors
- New hardware, filling old holes or upgrading to soft-close hinges
- Repairs to chipped edges or damaged doors
Even with those extras, painting kitchen cabinets typically costs far less than replacing them, which is why it is one of the most popular kitchen updates in DMV homes.
Fixing Common Problems After Painting
| Problem | Likely cause | Fix |
|---|---|---|
| Peeling near pulls | Grease left under the paint | Strip the area, degrease, re-prime and recoat |
| Doors sticking to frames | Paint not fully hard yet | Add bumpers and give the finish more cure time |
| Brush or roller marks | Overworking the paint or a cheap roller | Sand smooth and recoat with better tools, or spray |
| Yellow or brown spots on oak | Tannin bleed through the wrong primer | Spot-prime with a shellac cabinet primer, then recoat |
| Drips on door edges | Too much paint, doors painted upright | Sand the drip flat and recoat with doors laid flat |
Most of these problems trace back to prep or to skipping the best paint for kitchen cabinets in favor of whatever wall paint was on hand.
Questions to Ask a Cabinet Painter
If you hire out the work, a few questions reveal how carefully the job will be done:
- Do you remove and spray the doors, or paint them in place?
- Which degreaser, cabinet primer and enamel will you use, and can I see the product data sheets?
- Are cabinet interiors, shelf edges and the backs of doors included?
- How do you handle oak grain, if I want it smooth?
- How long before I can use the kitchen normally, and what should I avoid during cure?
- My house predates 1978; does your crew hold EPA lead-safe certification?
Clear, specific answers are a good sign that the crew knows why painted cabinets fail and how to prevent it.
Caring for Painted Cabinets
- Wipe with a soft cloth and mild dish soap in water. Skip abrasive pads and harsh cleaners.
- Clean around the pulls often, since skin oils build up there first.
- Add soft bumpers so doors do not slam paint against paint.
- Run the range hood when cooking to reduce grease on uppers.
- Keep a labeled can of the exact color for touch-ups.

Painting Kitchen Cabinets FAQs
Do I need to sand cabinets before painting?
Yes. A scuff sand dulls the old finish so primer can grip. Benjamin Moore’s Advance data sheet calls for 220-grit or coarser paper on cabinetry before priming, after the surfaces are degreased.
What is the best paint for kitchen cabinets?
A cabinet or trim enamel, such as a waterborne alkyd or a urethane-modified acrylic. These level smoothly and cure much harder than wall paint.
What primer should I use on oak cabinets?
A shellac-based or stain-blocking primer, which stops oak tannins from bleeding through light paint colors.
How long does cabinet paint take to cure?
It varies by product. Benjamin Moore lists 16 hours before recoating Advance, 3 to 5 days before shelves return to service and up to 30 days for full hardness.
Should I spray or brush cabinet doors?
Spraying doors flat gives the smoothest finish. Brushing and rolling with quality tools can work well too, as long as you keep a wet edge and avoid overworking the paint.
Can you paint laminate cabinets?
Yes, if the surface is intact. Degrease, scuff sand and use a high-bonding primer made for slick surfaces before the enamel. Peeling thermofoil should not be painted.
Get a Factory-Smooth Finish
Painting kitchen cabinets is a smart upgrade when the boxes are sound, as long as you avoid the nine mistakes above: degrease, sand, prime for the material, use a real cabinet enamel and give it time to cure.
If you would rather skip the drying racks and the week of mess, FIXO sprays doors off site and finishes the boxes in place at one fixed price. See our cabinet refinishing service, the interior painting page for walls and trim, or get pricing from the instant quote page.