A screen and recoat lightly abrades the existing finish and adds a fresh coat of polyurethane in about a day, which revives a floor that is dull or lightly scuffed but still sealed. A full sand and refinish takes the boards back to bare wood, allows a color change and takes three to four days. If you can catch a scratch with a fingernail, see gray wood, or find wax on the floor, a recoat will not fix it.
Most hardwood floors in DC area homes do not need to be sanded every time they look tired. The finish wears long before the wood does, and renewing that finish early is cheaper, faster and kinder to the boards than waiting until traffic lanes turn gray.
This guide compares the two jobs side by side, gives you a seven-point check to decide which one your floor needs, and explains costs, timing and the floors that cannot be recoated at all. Alvin wrote it for FIXO, which offers hardwood floor refinishing for homes around the DMV, drawing on guidance published by flooring trade magazines and finish makers.
What this refinishing guide covers
Key takeaways
- A recoat renews the protective layer. It does not remove scratches, dents, gray spots or the current color.
- A full sand and refinish strips the worn coating plus a thin skin of wood, so it can fix deep wear and change the stain.
- Wax, acrylic polish and some factory finishes block new coats from bonding, which rules out a recoat until they are dealt with.
- Recoating early, before the finish wears through, saves the floor’s sandable wood for later.
- Thin engineered floors may only be able to take a screen and recoat, never a full sanding.
What a Screen and Recoat Actually Is
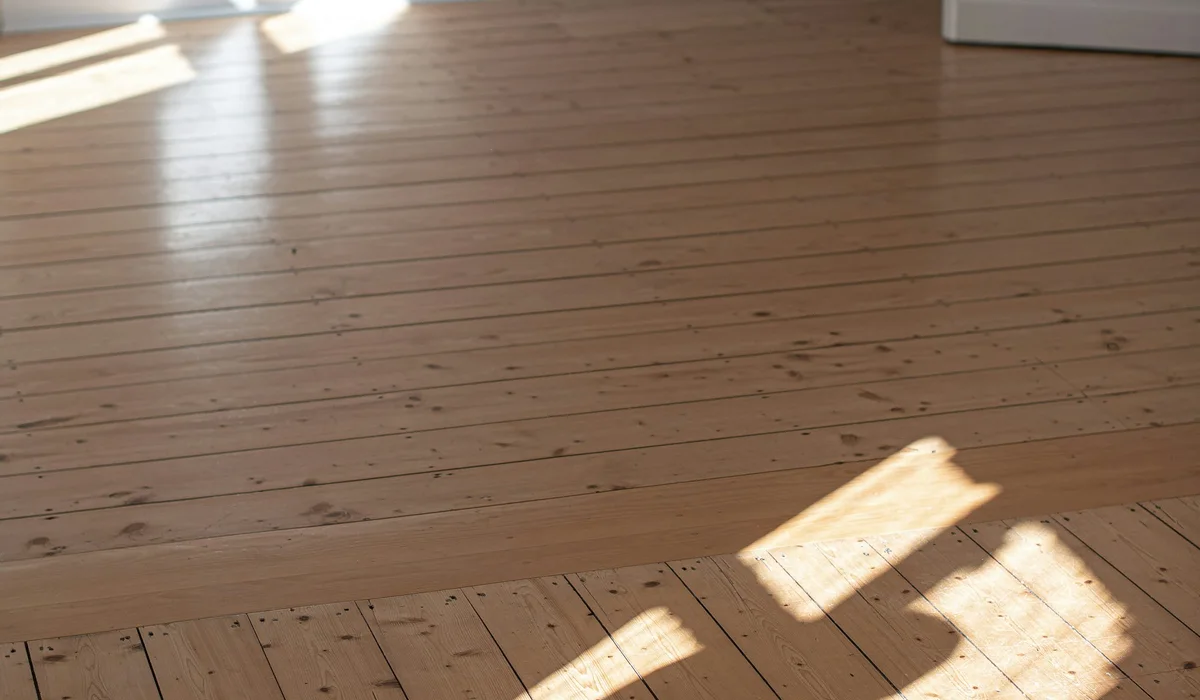
The name describes the two steps. First the floor is “screened”: a buffer runs an abrasive screen or pad over the existing finish to dull it and create tiny scratches that the new coat can grip. Then one or two coats of polyurethane go on top. No bare wood is exposed.
A typical screen and recoat follows this order:
- Deep clean with a cleaner the finish maker approves, to remove grime and residue.
- Test for contaminants such as wax or polish that would stop the new coat bonding.
- Abrade the field with a buffer and screen or maroon pad, keeping the machine moving with the grain.
- Hand-abrade the edges and corners the buffer cannot reach. This Old House suggests 180-grit paper along the perimeter.
- Vacuum and tack the floor so no dust gets sealed into the finish.
- Apply the coat, cutting in at the walls with a brush and rolling or padding the rest.
Trade writers often describe the result as a refresh, not a makeover. The color stays the same, scratches stay visible, and a satin floor stays satin. What changes is a uniform, protective film that stops wear from reaching the wood.
What a Full Sand and Refinish Involves
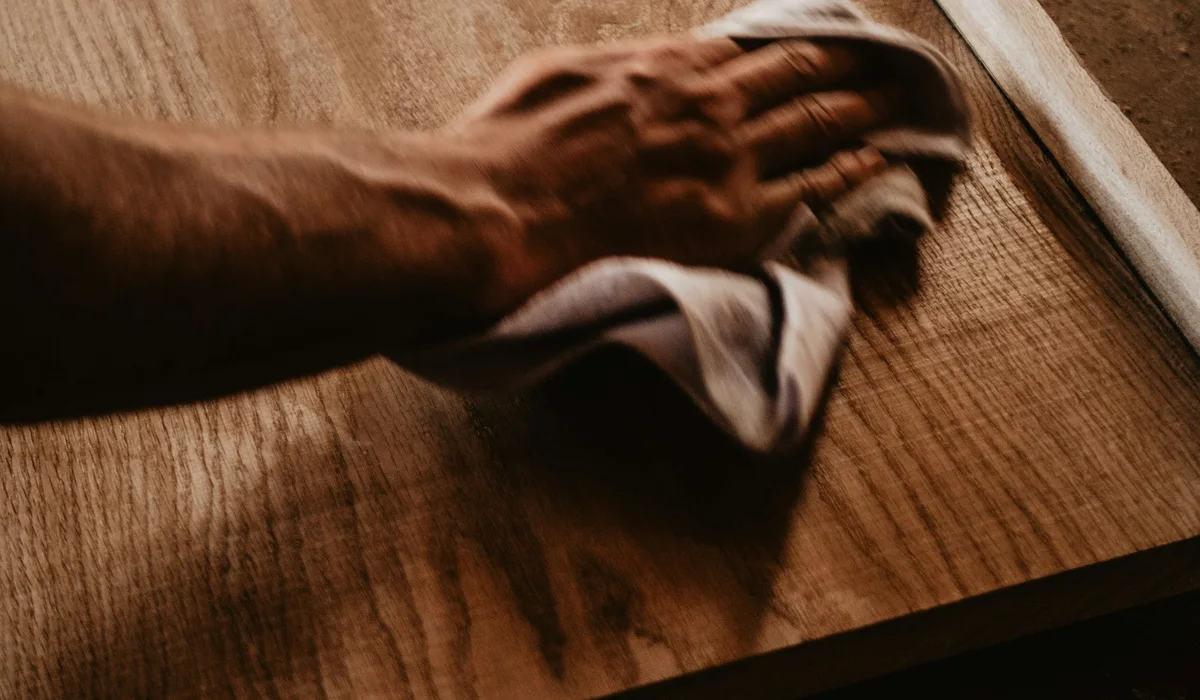
A full sand and refinish starts from scratch. The old finish and a thin layer of wood come off, so the floor is back to raw boards. At FIXO the sequence looks like this:
- Three sanding passes with a large drum or belt machine, moving from coarse to fine grit
- An edger along the walls and a buffer to blend the field with the edges
- Gaps and nail holes filled, corners hand-scraped
- Stain tested on your own floor and applied if you want a new color
- Three coats of water-based polyurethane, lightly abraded between coats
Because the wood is exposed, a full refinish can remove most scratches, gray traffic lanes, old yellowed finish and many surface stains. The trade-off is time, dust control and a little of the floor’s thickness each time it is done.

Screen and Recoat vs Sand and Refinish at a Glance
| Screen and recoat | Sand and refinish | |
|---|---|---|
| What it fixes | Dullness, light surface scuffs, worn sheen | Deep scratches, gray wear, old discolored finish |
| Removes scratches you can feel? | No | Most of them |
| Change stain color? | No | Yes |
| Typical time | About one day | Three to four days |
| Dust | Light | Heavy without dust containment |
| Wood removed | None | A thin layer each time |
| Relative cost | Roughly half or less | Full price |
| Main risk | Poor adhesion if the floor is contaminated | Sanding through thin engineered veneers |
The 7-Point Floor Check: Recoat or Refinish?
Work through these checks in a high-traffic spot such as the kitchen or hallway, not in a closet or under a rug, where the floor looks better than it really is.
1. The Fingernail Test
Run a fingernail across the worst scratches. Wood Floor Business points out that any scratch you can feel with a fingernail will still be there after a recoat. Shallow scuffs that sit only in the finish will disappear under a new coat; scratches that dig into the wood need sanding.
2. Gray or Bare Wood in Traffic Lanes
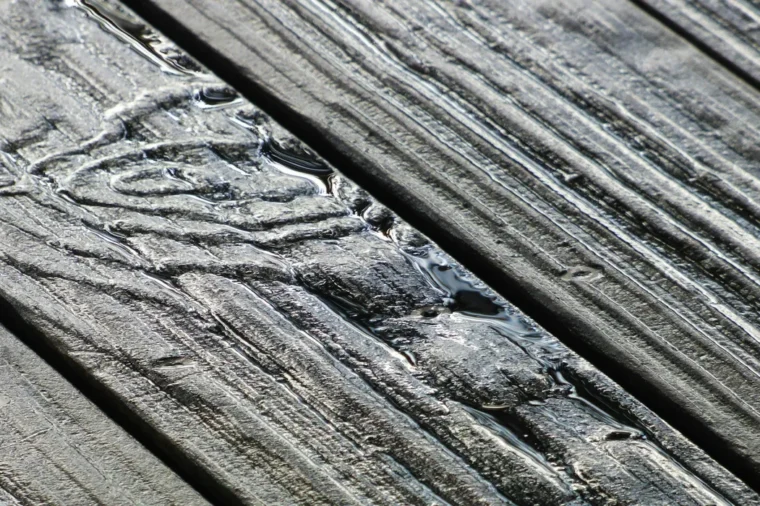
Gray or black patches mean the finish has worn through and the wood itself is soiling or has been wet. This Old House lists worn-through finish and gray discoloration as reasons a recoat will not work. Once the wood is exposed, sanding to bare wood is the answer.
3. The Wax Test
Wax and polyurethane do not mix. Hardwood Floors magazine suggests rubbing mineral spirits on a white rag in an inconspicuous spot: a yellow or brown smear points to paste wax. Water drops that leave white spots after about ten minutes are another sign. A waxed floor needs to be rewaxed or fully sanded.
4. The Acrylic Polish Test
Many “floor shine” products leave an acrylic film. Put a drop or two of ammonia or polish stripper on the floor; milky white spots after about two minutes suggest acrylic polish, according to the same guidance. It must be stripped before any recoat, and sanding is often the safer route.
5. The Marker Test for Slick Factory Finishes
Some prefinished floors have very hard or slippery finishes. Hardwood Floors magazine notes that if a permanent marker line wipes straight off, the floor may have a finish that new coats cannot bond to without a manufacturer-approved bonding system.
6. Board Condition
Look for cupped boards, wide gaps, loose or split pieces and water stains. A recoat seals over these exactly as they are. Damaged boards should be replaced and the floor sanded so the repair blends in.
7. Your Color Goals
If you want to move from honey oak to a natural or darker tone, only a full sand and refinish will do it, because stain has to reach bare wood. If you like the current color, a screen and recoat keeps it.
If the floor passes checks 1 through 6 and you are happy with the color, a screen and recoat is likely the right call. A professional should still run an adhesion test: apply a test coat, let it cure, then do an X-cut tape test as Hardwood Floors magazine describes to confirm the new finish sticks.
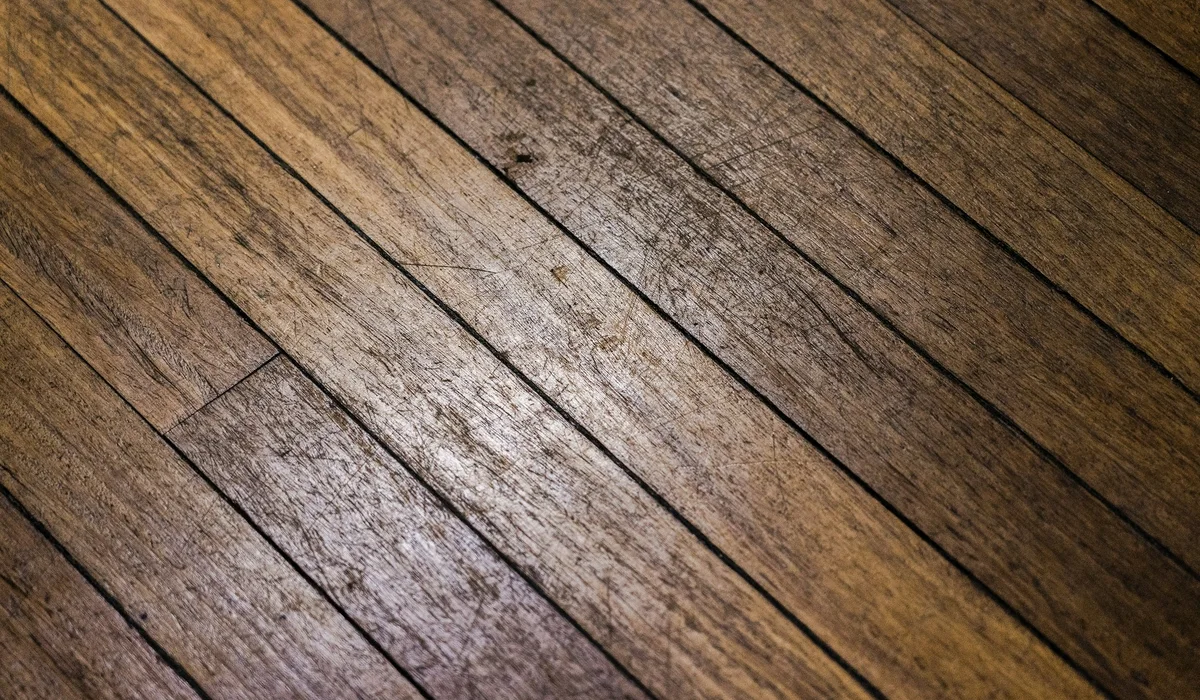
Signs It Is Time to Refinish Hardwood Floors Completely
Some floors are past the recoat stage, and spending money on a quick coat only delays the inevitable. It is usually time to refinish hardwood floors from bare wood when:
- Traffic lanes have turned gray or dark and feel rough underfoot
- Pet nails have left a web of scratches you can feel
- The old finish is peeling, flaking or deeply yellowed
- Water has stained boards black or gray around sinks, doors or plants
- You want a different color, from natural to a darker or cooler tone
If only one room shows these signs, a full refinish there and a screen and recoat in the rest of the house can keep the sheen consistent while controlling cost. The new finish in both areas should be the same product and sheen.
A Real-World Example: Two Rooms, Two Answers
Picture a 1960s colonial in Arlington with red oak floors throughout the main level. The family room, mostly covered by a large rug, looks dull at the edges but has no gray wood and no deep scratches. The front hall, which takes every muddy shoe and the dog’s daily sprint to the door, has gray lanes and scratches you can feel.
The right plan treats them differently. The family room gets a screen and recoat in a day. The hall gets sanded, refinished in the same stain color and coated with the same finish, so the two areas match when the work is done. Total disruption is a few days instead of a week, and the family room keeps its sandable wood for a future refinish.
This kind of split plan is common in DMV homes, and it is why a walkthrough beats a phone quote. The best answer is often a mix, room by room.
Engineered Floors and the Wear Layer Question
Solid hardwood can usually be sanded five or six times over its life. Engineered hardwood has a real wood veneer bonded to a plywood or composite base, and that veneer sets the limit.
- 3 mm veneer or thicker: can usually take full sanding.
- Around 2 mm: a screen and recoat only. A full sanding risks cutting through to the core.
- Thinner veneers: refinishing is generally not recommended; replacement makes more sense.
For these floors, regular recoats are the main way to keep them looking good, because there is so little wood to sand. A floor that has already been sanded several times can reach the same point. If the tongue or nail heads are showing, it has run out of sandable wood. Our comparison of engineered hardwood vs hardwood explains how veneer thickness affects lifespan.
What Each Option Costs
National cost guides put the two jobs in different brackets. HomeServe, citing HomeGuide, lists refinishing at about $2 to $8 per square foot and screening at about $2 to $5 per square foot. Inch Calculator puts a full refinish at about $3 to $8 per square foot and says a recoat costs roughly half as much.
| Item | What moves the price |
|---|---|
| Square footage and layout | Open rooms go faster than halls and closets |
| Stain | Adds a step and drying time on a full refinish |
| Stairs | Treads are hand-sanded and usually priced per step |
| Board repairs | Split or water-damaged boards are replaced before sanding |
| Contaminants | Wax or polish removal adds labor or forces a full sand |
| Furniture moving | Included by some companies, extra with others |
On price alone, a screen and recoat almost always wins. Over a floor’s life it also saves money indirectly: every recoat done on time is one less full sanding, and each sanding removes wood you cannot get back. FIXO quotes both jobs as a fixed price after measuring the floor and checking the remaining wear layer on the refinishing service page.
How Often to Screen and Recoat
There is no fixed calendar. The right time is when traffic lanes look duller than the rest of the room but no bare or gray wood shows. Busy homes with kids, pets and a lot of entry traffic reach that point sooner than a quiet bedroom.
A simple routine is to look at the floor once a year near the kitchen, the main entry and the base of the stairs. If the sheen there no longer matches the protected areas under rugs or furniture, schedule a recoat before the next season of heavy use. Waiting until the finish wears through turns a one-day job into a full refinish.
After the Work: Drying, Furniture and Cleaning
Water-based finishes dry fast. Floors are usually dry to walk on in socks within hours, and This Old House suggests waiting about a week before putting furniture back on a freshly coated floor. Rugs should wait longer, since finish keeps curing under them.
- Put new felt pads on every furniture leg before moving pieces back.
- Clean with a cleaner made for polyurethane floors and a microfiber mop.
- Avoid wax, oil soaps, “shine restorers” and acrylic polishes. They make the next recoat harder or impossible.
- Keep pet nails trimmed and use mats at exterior doors to cut grit.
The cleaning habit matters more than most owners think: the same products that promise a quick shine are the ones that stop a future screen and recoat from bonding.

Can You Screen and Recoat Yourself?
Rental stores carry buffers and screens, and a screen and recoat is the more DIY-friendly of the two jobs. The risks are in the parts you cannot see: missing a contaminant, choosing a finish that is not compatible with what is already there, or leaving lap marks where the coat dried unevenly.
The This Old House recoating guide walks through the steps, and the Hardwood Floors magazine article on recoating covers the contamination tests in more detail. Full sanding jobs are a different matter. Drum sanders remove wood fast, and a moment’s pause leaves a gouge that takes more sanding to fix.
When in doubt, have a pro check the floor first. Many will tell you on the spot whether you need to refinish hardwood floors or simply recoat them.
Screen and Recoat FAQs
How long does a screen and recoat take?
Most rooms are done in about a day: cleaning, screening, vacuuming and one coat of finish. With water-based finish, the floor is usually dry to walk on in socks the same evening.
Will a screen and recoat remove scratches?
Only scratches that sit in the finish. Any scratch you can feel with a fingernail, along with dents and gray areas, will still show after a recoat.
Can you screen and recoat a waxed floor?
No. Polyurethane will not bond to wax. A waxed floor has to be rewaxed or sanded to bare wood before a new polyurethane finish can go on.
Is it cheaper to recoat or refinish hardwood floors?
Recoating is cheaper, often around half the cost of a full sand and refinish, because there is no heavy sanding, no stain and usually only one coat.
Can I change the color with a screen and recoat?
No. Stain needs bare wood to soak into. Changing the color always requires sanding to bare wood.
How many times can hardwood be refinished?
Solid hardwood can usually be sanded five or six times. Engineered floors depend on the veneer: about 3 mm or more can usually be sanded, while around 2 mm can only be recoated.
Find Out Which Your Floor Needs
A screen and recoat is the smart, low-cost choice for a floor that is dull but still sealed, while a sand and refinish is the fix for deep scratches, gray wear and color changes. The seven checks above will point you in the right direction.
FIXO checks the remaining wear layer, tests for contaminants and quotes the right option at one fixed price. See our hardwood floor refinishing service, or if the floor is past saving, our engineered hardwood installation page. Book a measurement through the instant quote form.