Bathroom floor tile installation takes most small bathrooms about three to five working days: removing the old floor, repairing and stiffening the subfloor, adding backer board or a membrane, setting tile, grouting and resetting the toilet. Choose a floor tile rated for wet floors, meaning its wet DCOF should be 0.42 or better. Homewyse’s May 2026 estimate puts the national average at roughly $16.60 to $20.60 per square foot installed, before demolition and subfloor repairs.
A bathroom floor is small, but it is the hardest-working tile in the house. It takes wet feet, a toilet bolted through it and sometimes a shower with no curb. That is why tile that would be fine in a hallway can crack, loosen or leak in a bathroom when the prep is rushed.
This guide follows a bathroom floor tile installation from the first morning of tear-out to the day the toilet goes back, then covers tile choice, costs, permits and the questions to ask bathroom tile installers. Alvin wrote it for FIXO, a flooring company whose crews tile bathrooms, kitchens and basements across the DMV.
What this bathroom tile guide covers
Key takeaways
- Most bathroom tile failures start below the tile, in a subfloor that flexes or a substrate that was never waterproofed.
- Pick porcelain or floor-rated ceramic whose wet DCOF is 0.42 or above, and smaller tile where the floor slopes to a drain.
- The toilet comes out, the tile runs underneath, and the flange height is checked before it goes back.
- A like-for-like tile swap rarely needs a permit; relocating the toilet or wiring a heated floor usually does.
- Compare quotes line by line: demolition, subfloor work, membrane, tile, grout, sealant and the toilet reset.
Bathroom Floor Tile Installation Timeline
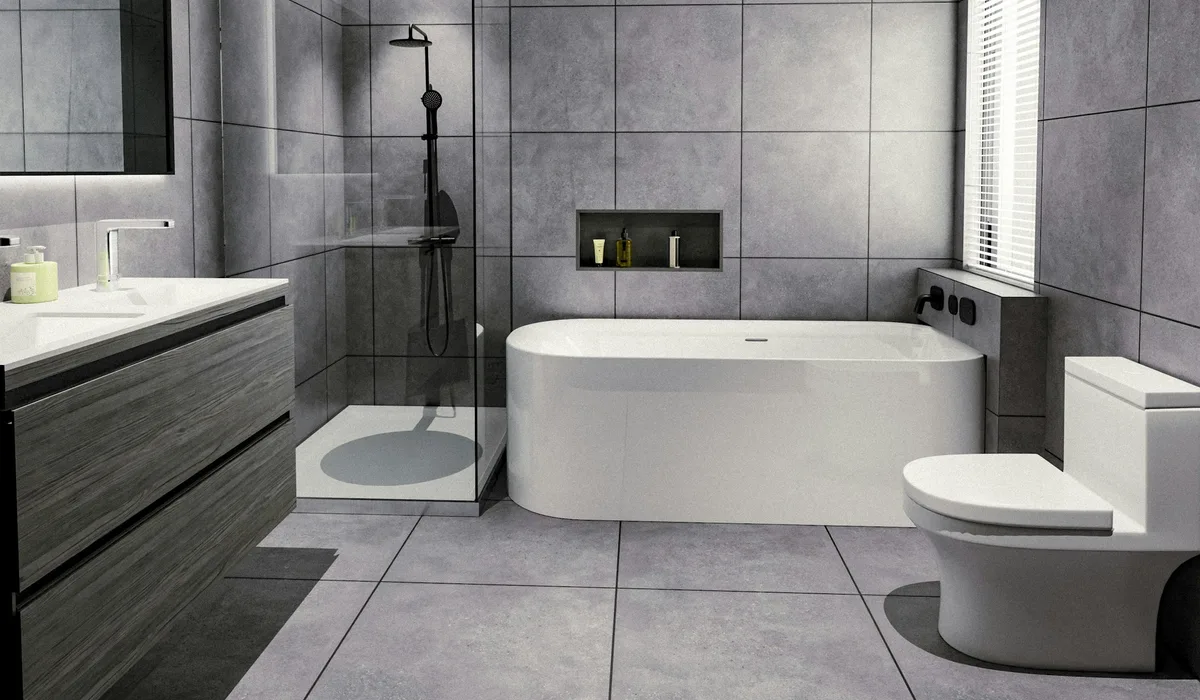
Most of the time on a bathroom floor tile installation goes into waiting for materials to cure, not into laying tile. A typical full bathroom runs like this:
| Day | Work |
|---|---|
| Day 1 | Remove the toilet, vanity if needed and the old floor; inspect the subfloor |
| Days 1 to 2 | Repair or stiffen the subfloor; install backer board or a membrane |
| Days 2 to 3 | Lay out and set the tile |
| Days 3 to 4 | Grout once the mortar has cured; seal grout if the product needs it |
| Days 4 to 5 | Reset the toilet and vanity; fit baseboard and the threshold |
Powder rooms can move faster. Heated floors, a curbless shower, rotten subfloor or an old mortar bed add days. Unless the installer uses rapid-setting materials, a one-day bathroom floor usually means the cure times were skipped.
Choosing Bathroom Floor Tile
The tile itself is the part homeowners spend the most time on. Three specs matter more than color.
Porcelain, Ceramic or Stone
Porcelain is the default for bathroom floor tile: it is dense, absorbs very little water and stands up to wear. Glazed ceramic floor tile works in lower-traffic baths and costs less. Marble, slate and other natural stone look beautiful but need sealing, scratch more easily and call for a stiffer floor. Glazed wall tile should never go on a floor.
Slip Resistance
Look for the wet DCOF figure on the spec sheet. It comes from the ANSI A326.3 test, and the industry standard for tile in level interior spaces expected to be walked on when wet is a wet DCOF value of at least 0.42, as Crossville’s DCOF guide explains. Many porcelain lines are also labelled interior wet (IW) or interior wet plus (IW+), and IW+ tile may suit areas with frequent standing water such as shower floors.
Tile Size
Large-format tile, meaning any tile with a side of 15 inches or more, gives a clean look with few grout lines. It also needs a very flat floor and cannot follow the four-way slope of a shower pan. Small tile and mosaics bend to slopes and add grip through the extra grout joints, which is why they are common on shower floors and in small baths.
Pattern and Layout
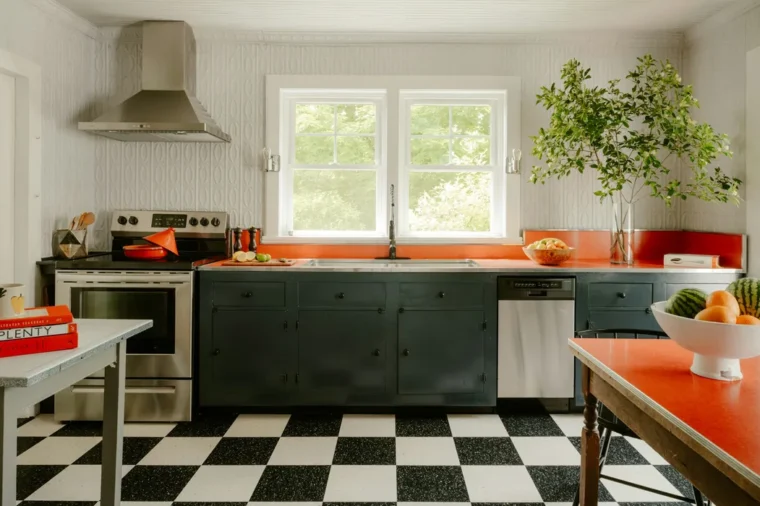
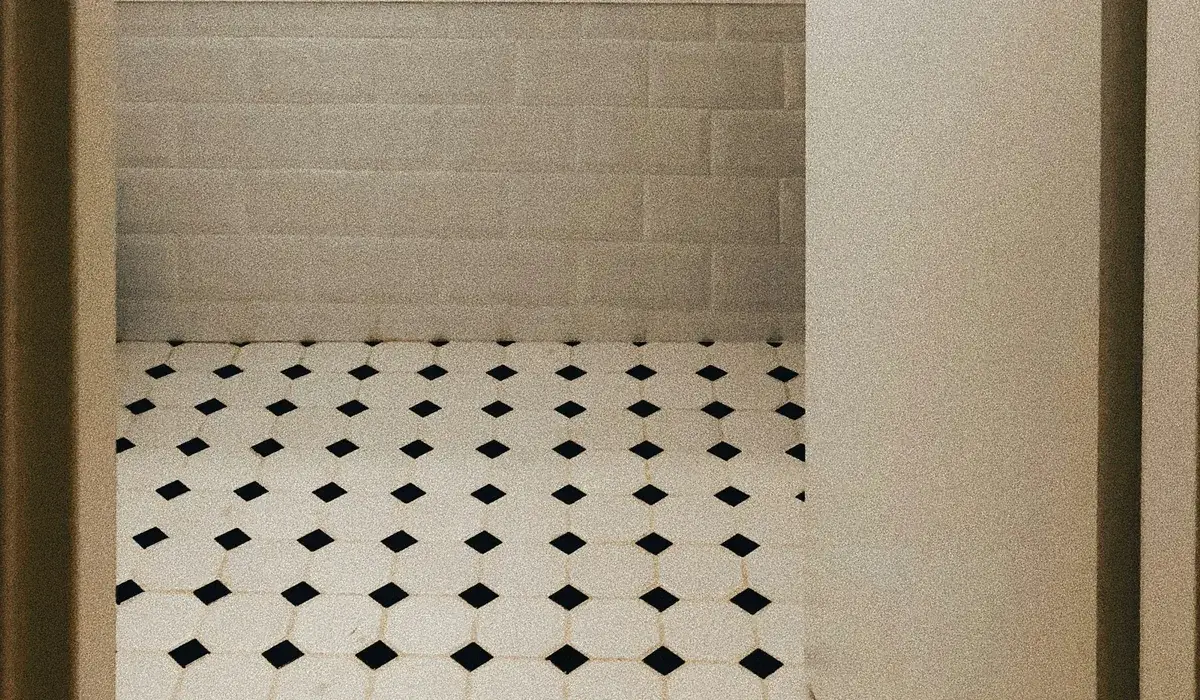
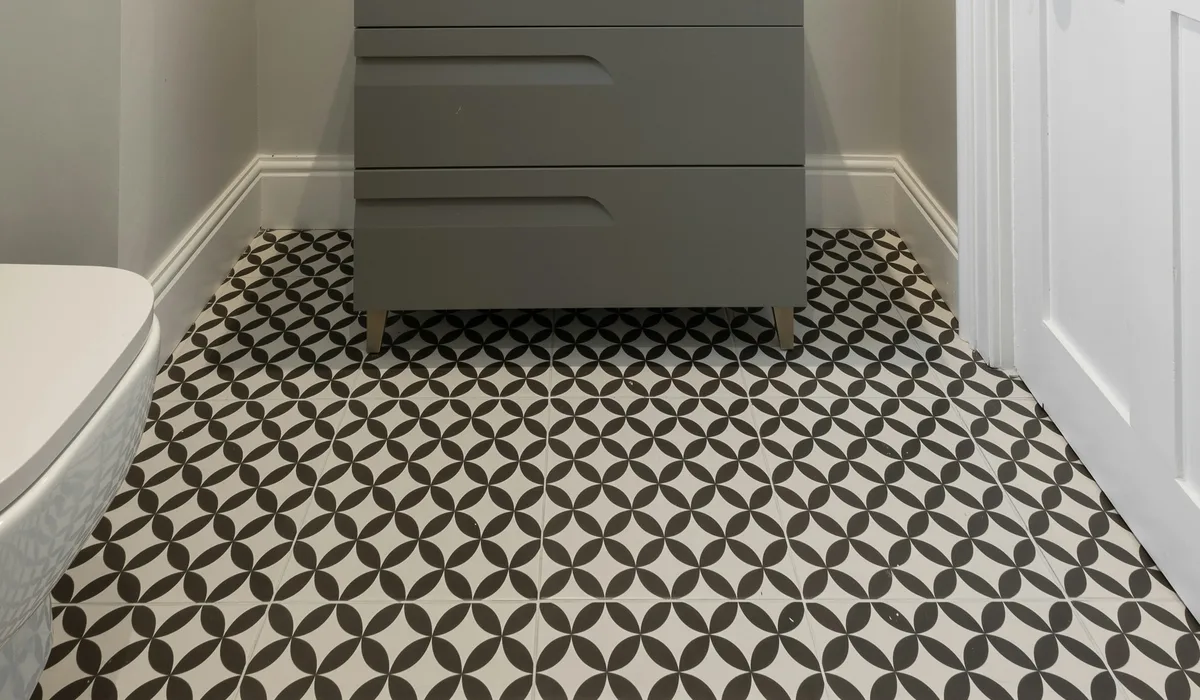
Patterned cement-look tile, mosaics and checkerboards are popular in small bathrooms. They need careful centering on the doorway and the vanity, so the pattern doesn’t end in a thin strip along the most visible edge. Ask the installer to dry-lay a row before setting anything.
Grout Type and Color
Cement grout is the standard choice, sanded for wider joints and unsanded for very narrow ones. Epoxy and premixed urethane grouts cost more but resist stains and generally skip the sealing step, which suits a busy family bathroom. Mid-gray and warm greige grout hide everyday dirt far better than bright white, and grout close to the tile color makes a small floor feel larger. Ask for a grout sample next to your tile before you decide.
Subfloor and Underlayment: The Part You Don’t See
Most cracked bathroom floors fail below the surface. Wood-framed floors flex, and tile can’t. Industry guidance ties tile type to floor stiffness: a common rule is that the floor should not deflect more than L/360 under load for ceramic and porcelain, or L/720 for natural stone, which is why stone floors often need extra plywood or joist work.
What goes under the tile depends on what is there:
- Plywood over joists: cement board bedded in thinset and fastened with backer screws, or an uncoupling membrane, over a sound subfloor.
- Concrete slab: crack-isolation membrane over cracks and leveling compound where the slab is out of flat.
- Old mortar bed: common in pre-1960s DMV homes. It can stay if it is sound, but it often comes out to the joists.
- Existing tile or vinyl: tiling over it raises the floor at the door and the toilet flange, so most installers remove it.
Old sheet vinyl and its adhesive in older homes can contain asbestos, so have it tested before anyone starts scraping. Our guide to why tile floors crack goes deeper into subfloor problems.
8 Steps of Bathroom Floor Tile Installation
Every job differs in detail, but a well-run bathroom floor tile installation follows the same order.
1. Protect the House and Clear the Room
The installer shuts off the water, removes the toilet, plugs the drain to block sewer gas and protects the hallway. If the new floor will run under the vanity, it comes out too.
2. Remove the Old Floor and Inspect
With the old tile or vinyl gone, the subfloor around the toilet flange and along the tub gets the closest look. Soft or dark plywood there usually means a slow leak.
3. Repair and Stiffen
Rotten plywood is cut out and replaced. Bouncy floors get blocking between joists or extra plywood so the assembly meets the stiffness the tile needs.
4. Install Backer Board or Membrane
Cement board or an uncoupling membrane goes down following the maker’s fastening pattern, with seams taped and thinset where required. In wet zones a waterproof membrane goes on as well.
5. Lay Out the Floor
The installer snaps center lines, checks how the tile falls at the doorway, tub and toilet, and adjusts so cut pieces are a reasonable size. This is also the moment to check the flange position against the new floor height.
6. Set the Tile
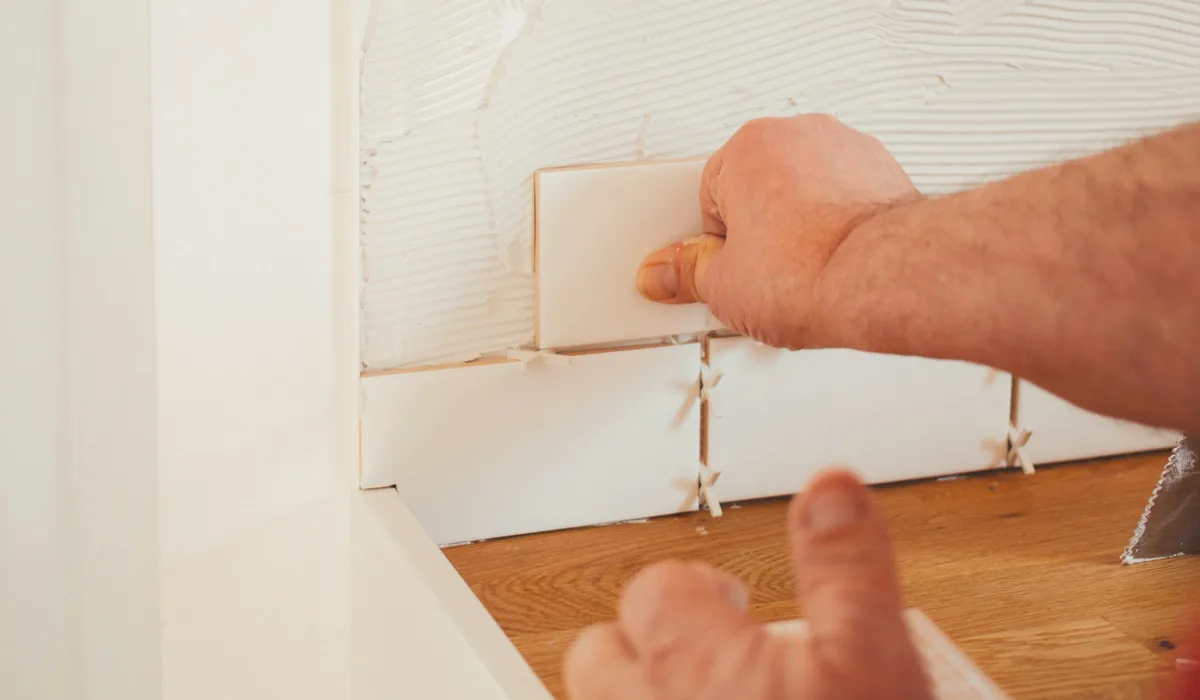
Thinset goes on with a trowel sized to the tile, and larger tiles are back-buttered. Industry standards call for at least 80% mortar coverage in dry areas and 95% in wet areas such as shower floors, so a good installer lifts a tile now and then to check.
7. Grout and Fill Movement Joints
Grout goes in after the mortar has cured. Joints where the floor meets the tub, walls and other changes of plane are left open and filled with flexible sealant, not grout, so the floor can move without cracking.
8. Reset Fixtures and Trim
The toilet goes back on a new wax ring or foam seal, the vanity is reinstalled, and baseboard and a threshold finish the edges. The installer checks the toilet for rocking before leaving.
Our page on the tile floor installation process covers the same steps for kitchens and other rooms.
Tiling Around the Toilet, Tub and Vanity
Three fixtures decide how a bathroom floor tile installation looks and how long it stays watertight.
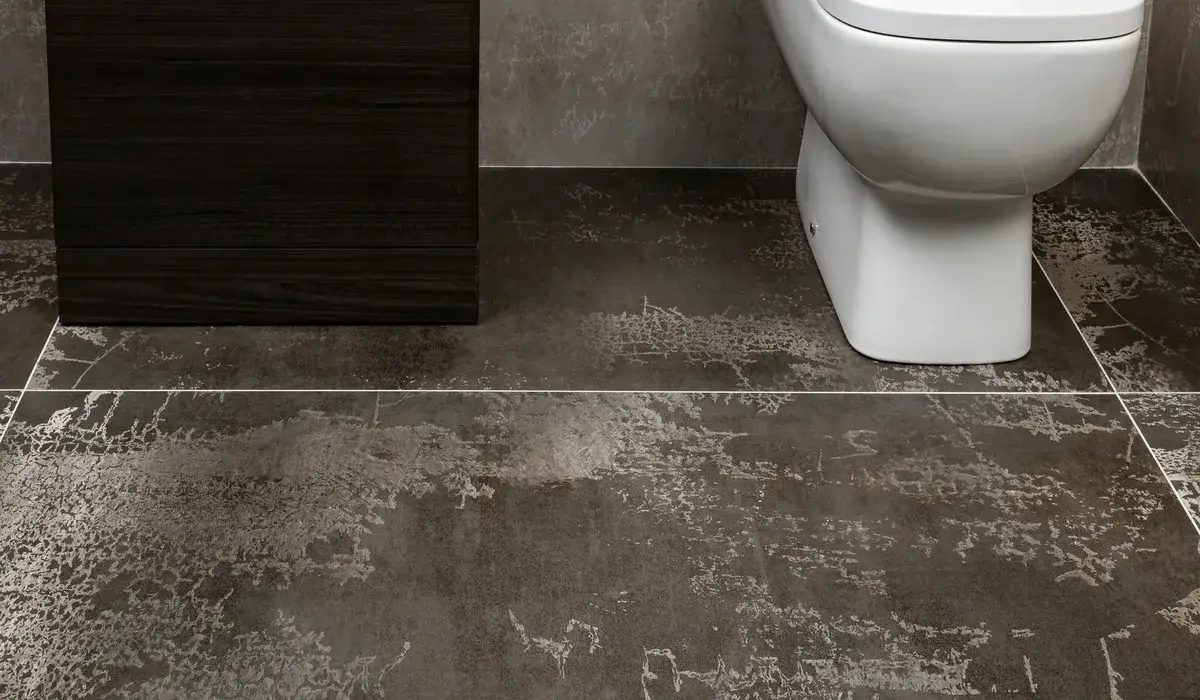
Toilet. Tile should run under the toilet, never be cut around its base. The flange should end up level with or slightly above the finished tile. If the new floor is higher than the old one, a flange extender or spacer ring keeps the seal tight.
Tub. Tile stops just short of the tub, and the gap is filled with sealant. Tubs and floors move differently, so grout in that joint cracks within months.
Vanity. Decide early whether tile runs under the vanity. A floating vanity needs full tile underneath. A cabinet vanity can sit on the subfloor, but running tile under it makes a future vanity swap much easier.
Curbless Showers and Wet Zones
A curbless shower turns the bathroom floor and the shower floor into one surface. The shower area has to slope to the drain, commonly about 1/4 inch per foot, with a waterproof membrane under the tile across the shower and usually a short way beyond it. The joists are often lowered or notched so the floor stays level at the door. That is framing, plumbing and waterproofing work, not just tile.
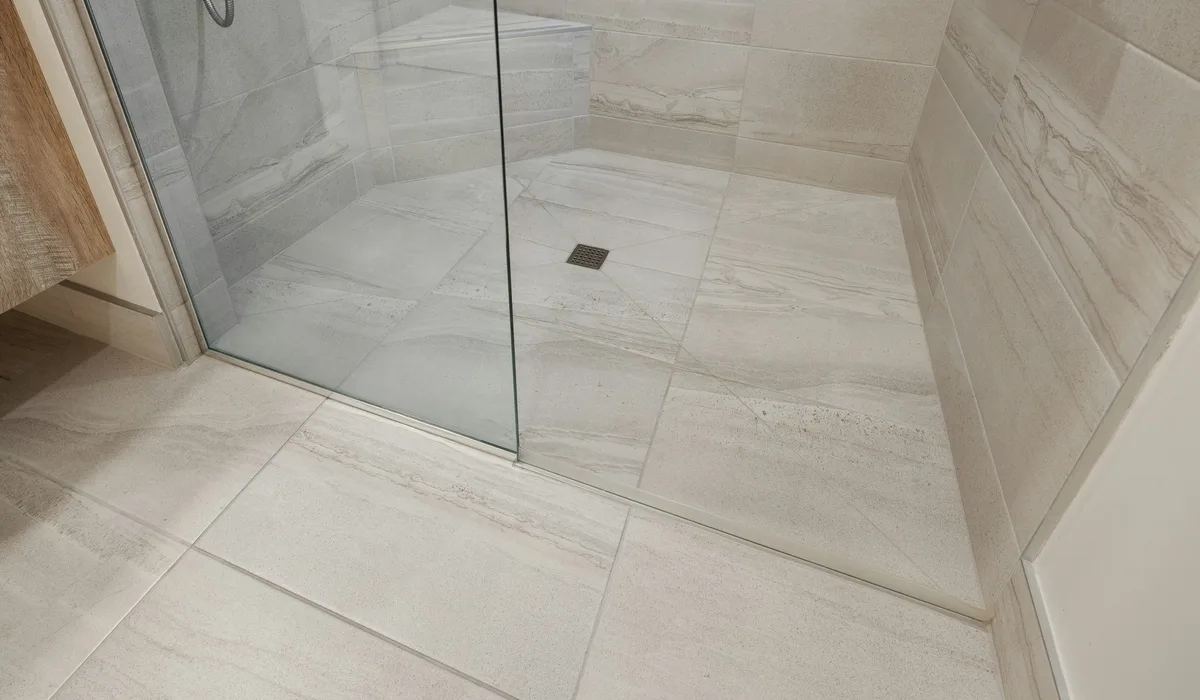
A linear drain along one wall lets you slope the floor in one plane and use large-format tile. A center drain needs four slopes, which works best with smaller tile or mosaics.
Heated Bathroom Floors
Electric radiant mats or cables go down over the backer or membrane, are embedded in self-leveler or thinset, and the tile goes on top. They need a dedicated, GFCI-protected circuit and a thermostat, which means an electrician and usually an electrical permit. A good installer tests the cable’s resistance before, during and after tiling, so a nicked wire is caught while it is still easy to repair.
What Bathroom Floor Tile Installation Costs
Homewyse’s May 2026 estimate puts the national average to install bathroom floor tile at about $16.60 to $20.60 per square foot, covering labor, supplies and disposal in favorable site conditions. The main things that move the price:
| Item | What drives it |
|---|---|
| Tile | Ceramic costs least; porcelain, stone and mosaics cost more |
| Labor | Small rooms, patterns, mosaics and large-format tile add time |
| Demolition | Old tile on a mortar bed takes the longest to remove |
| Subfloor repair | Rot near the toilet and tub is common in older baths |
| Backer or membrane | Needed under nearly every tile floor |
| Heated floor | Mat or cable, thermostat and electrician |
| Fixture reset | Removing and reinstalling the toilet and vanity, new wax ring |
Because bathrooms are small, many installers have a minimum job charge, so a 40-square-foot floor rarely costs exactly 40 times the per-foot rate. Labor in the DC region often runs above national averages too. Our tile flooring installation cost guide has more detail on pricing.
Permits and Licenses in Virginia, Maryland and DC
Swapping a floor finish usually doesn’t need a building permit. Fairfax County’s when a permit is required page lists replacing tiles and flooring material, and like-for-like replacement of plumbing fixtures, among work that needs no permit. Moving a toilet or drain, adding a circuit for a heated floor or changing the framing is a different matter.
Licensing matters as much as permits. Maryland requires home improvement contractors to hold an MHIC license, as our Maryland tile installation guide explains. Virginia contractors can be checked on the DPOR license lookup, and DC home improvement contractors are licensed through DLCP.
Hiring Bathroom Tile Installers Near You
If your search for bathroom floor tile installation near me covers Northern Virginia, Maryland or DC, these questions separate careful bathroom tile installers from the rest:
- What will you put under the tile, and why? The answer should name a specific backer or membrane.
- How will you check for flex and rot? Especially around the toilet and along the tub.
- What is the wet DCOF of the tile you suggest? It should be 0.42 or higher.
- Where will the movement joints go? At the tub, the walls and any large field of tile.
- Who resets the toilet and vanity? And is a new wax ring included?
- How long will the bathroom be out of use? Plan around it if it is your only full bath.
- What is your license number? It should appear on the written contract.
A written quote should list demolition, subfloor work, membrane, tile setting, grout, sealant, the toilet reset and trim as separate items, so you can compare bathroom tile installers like for like. FIXO handles bathroom floors in Fairfax, Alexandria, Bethesda, Washington DC and nearby towns.
Caring for a New Bathroom Tile Floor
A tile floor needs little upkeep, but the first weeks and the grout joints deserve some attention:
- Respect the cure time. Follow the installer’s advice on when to walk on the floor and use the shower; grout keeps hardening for several days.
- Seal cement grout if required. Epoxy and many premixed urethane grouts don’t need sealing, but standard cement grout often does.
- Clean gently. A pH-neutral cleaner is safest; vinegar and bleach wear down grout and etch natural stone.
- Keep sealant joints intact. Recaulk the tub and wall joints when the sealant cracks or pulls away.
- Use quick-drying mats. Mats that stay damp against the grout encourage mildew.
Bathroom Floor Tile FAQs
How long does bathroom floor tile installation take?
About three to five working days for a typical small bathroom, including demolition, prep, setting, grouting and resetting the toilet. Heated floors, curbless showers and subfloor repairs add time.
What does it cost to retile a bathroom floor?
Homewyse’s May 2026 estimate puts the national average at about $16.60 to $20.60 per square foot installed. Demolition, subfloor repair, heated floors and minimum job charges change the final total.
What is the best tile for a bathroom floor?
Porcelain rated for wet floors, whose wet DCOF reaches at least 0.42. Matte or textured finishes and smaller tiles with more grout lines give extra grip underfoot.
Does the toilet have to come out to tile the floor?
Yes. Tile should run under the toilet. The toilet is then reset on a new wax ring or seal, with a flange extender if the floor height has gone up.
Can you tile over existing bathroom tile?
Sometimes, if the old tile is flat and firmly bonded and the mortar maker approves it. It raises the floor at the door and the toilet flange and hides problems underneath, so most installers remove the old tile.
Do I need a permit to retile a bathroom floor?
Usually not for replacing tile alone. Moving plumbing, adding an electrical circuit for a heated floor or changing the framing typically needs a permit, so check with your county first.
Planning Your Bathroom Floor
A good bathroom floor tile installation is mostly decided before the first tile goes down: a stiff, flat subfloor, the right membrane, a slip-rated tile and a plan for the toilet, tub and doorway. Get those right and the floor should outlast the fixtures around it.
FIXO installs bathroom tile floors throughout Northern Virginia, Maryland and DC. See our tile flooring installation service, compare materials in our best bathroom flooring guide, or send your bathroom size through the instant quote form.
 4.9 on Google14 reviews
 Licensed & InsuredVirginia · Maryland · Washington, D.C.
 Workmanship GuaranteedInstallation backed in writing
 Locally OwnedServing NoVA, MD & D.C.