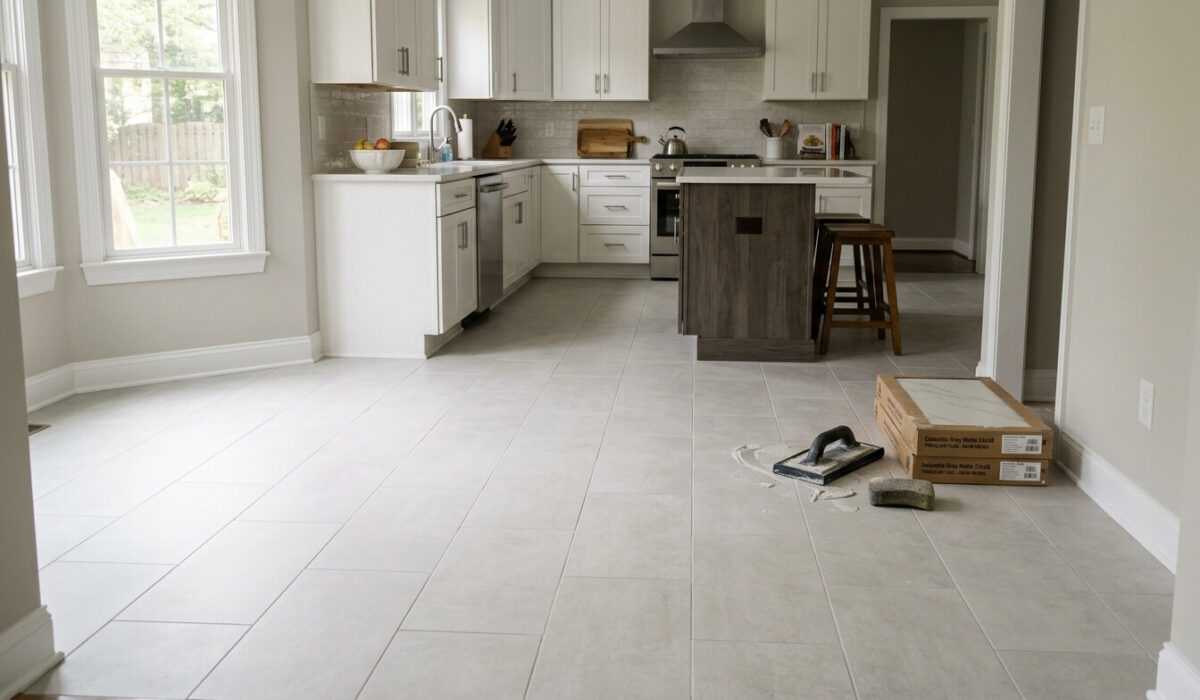
The tile floor installation process has eight steps: protect the house and remove the old floor, check that the subfloor is flat and stiff, install the right underlayment, plan the layout, set tile in thinset mortar, let it cure, grout, and finish. Most single rooms take two to four working days on site, plus 24 to 72 hours before normal use.
Most people choose their tile in an afternoon and assume the hard part is over. It isn’t. A tile floor installation is a stack of layers, and the tile you fell for in the showroom is only the top three-eighths of an inch. What sits underneath decides whether that floor still looks sharp in fifteen years or starts cracking down the hallway before its second winter.
This guide walks you through the tile floor installation process the way an installer sees it: picking tile that suits the room, what happens on each day of the install, how to get your house ready, and what to check before you sign off. It’s written for homeowners in Northern Virginia, Maryland and Washington, DC, so you’ll also find the local details that national how-to guides leave out.
In this guide to the tile floor installation process
- What Tile Floor Installation Actually Involves
- Choosing the Right Tile Before Floor Tile Installation Starts
- The Tile Floor Installation Process, Step by Step
- How Long the Tile Floor Installation Process Takes
- How to Get Your Home Ready for Install Day
- Tile Floor Installation in Northern Virginia, Maryland and DC
- DIY or Hire a Pro for Floor Tile Installation?
- What a Good Installer Lets You See During the Job
- Caring for Your New Tile Floor
- Frequently Asked Questions About Tile Floor Installation
Key takeaways
- The tile floor installation process runs in eight steps, and most failures start in the layers under the tile, not the tile itself.
- Large-format tile needs a flatter floor: 1/8 inch in 10 feet, compared with 1/4 inch for smaller tile.
- For floors that may get wet, choose tile with a wet DCOF of at least 0.42.
- Mortar should cover at least 80% of each tile’s back in dry rooms and 95% in wet ones.
- Fairfax County doesn’t require a building permit to replace flooring, but moving plumbing or adding a heated-floor circuit typically does.
What Tile Floor Installation Actually Involves
Tile floor installation is a system, not a single product. A finished floor typically has six layers working together, and a weakness in any one of them eventually shows up in the tile.
- Floor structure: the joists or concrete slab carrying the load.
- Subfloor: plywood or OSB on a wood-framed floor, or the slab itself in most basements.
- Underlayment: cement backer board, an uncoupling membrane or a mortar bed that gives tile a stable surface.
- Thinset mortar: the cement-based adhesive that bonds tile to the underlayment.
- Tile: porcelain, ceramic or natural stone.
- Grout and soft joints: grout fills the joints between tiles, while flexible sealant at the walls lets the floor move.
When a tile floor fails, the tile is rarely the culprit. In most cases a lower layer flexed, shifted or lost its bond, and the tile simply made it visible.
Choosing the Right Tile Before Floor Tile Installation Starts
Choosing floor tile is a performance decision first and a style decision second. The tile that’s perfect for a powder room can be the wrong call for a mudroom that takes wet boots from November to March.
Porcelain, Ceramic or Natural Stone
| Tile type | Water absorption | Best rooms | What it asks of the floor |
|---|---|---|---|
| Porcelain | 0.5% or less | Kitchens, baths, entries, basements, mudrooms | Standard stiffness (L/360) |
| Ceramic | Higher than porcelain | Bathrooms, laundry rooms, lighter-traffic spaces | Standard stiffness (L/360) |
| Natural stone | Varies by stone; most need sealing | Primary baths, formal entries | Roughly twice as stiff (L/720) |
For a tile floor installation in most DMV homes, my default recommendation is porcelain. It costs a little more than ceramic, it shrugs off water, and on through-body or color-body porcelain a chip from a dropped skillet is far less obvious. Stone is beautiful, but it’s a commitment: it needs sealing, it etches and scratches more easily, and plenty of older houses need an extra layer of plywood before they’re stiff enough to carry it.
The Numbers on the Box Worth Reading
Tile boxes and spec sheets list ratings that tell you whether a tile belongs on your floor at all. These are the ones I’d check before buying:
- DCOF (slip resistance): for level interior floors that may get wet, look for a wet DCOF of at least 0.42, the benchmark in the ANSI A326.3 standard. Ask for it on any bathroom, kitchen or entry tile.
- PEI wear rating: glazed tile is rated for abrasion. PEI 3 handles general residential floors, and PEI 4 is the safer choice for busy entries and kitchens.
- Floor rating: wall tile is thinner and softer, and it cracks underfoot no matter how well it’s installed.
- Rectified or pressed edges: rectified tile is ground to exact dimensions after firing, which allows tighter grout joints. Pressed edges vary more and look better with a wider joint.
Tile Size, Pattern and Grout Joint Width
Large-format tile, meaning any tile with an edge 15 inches or longer, looks clean and modern but demands a flatter floor. Industry guidance under ANSI A108.02 tightens the allowance to 1/8 inch in 10 feet, compared with 1/4 inch in 10 feet for smaller tile. That flattening is labor, so a 24×48 tile in a 1960s rambler can cost noticeably more to set than a 12×24 in the same room.
Patterns change how much you buy. A straight lay typically needs about 10% extra tile for cuts and breakage, while diagonal and herringbone layouts need closer to 15%. For long rectangular tile, ask for an offset of about one-third instead of a half-brick pattern. Large tiles have a slight bow along their length, and a 50% offset lines up the high center of one tile with the low end of the next.
Grout joints are a design choice with a technical minimum: the standard doesn’t allow joints narrower than 1/16 inch, and pressed-edge tile usually looks best at 1/8 inch or wider. Pick grout color with the joint width in mind. Contrasting grout on a wide joint turns the floor into a grid, while a matching shade lets the tile carry the room.
The Tile Floor Installation Process, Step by Step
A professional tile floor installation follows the same order every time: protect, remove, assess, prepare, lay out, set, cure, grout and finish. Rushing any step is where most problems begin.
Step 1: Protect the House and Remove the Old Floor
Crews mask doorways, cover HVAC returns and lay protection along the path to the door. Vinyl and carpet come up quickly. Old ceramic tile is the slow, dusty one, because the thinset underneath has to be ground off so the new floor sits flat. If your current floor is tile, expect removal to take most of a day in a typical room. It’s the least glamorous part of any tile floor installation, and the dustiest.
Step 2: Check That the Subfloor Is Flat and Stiff
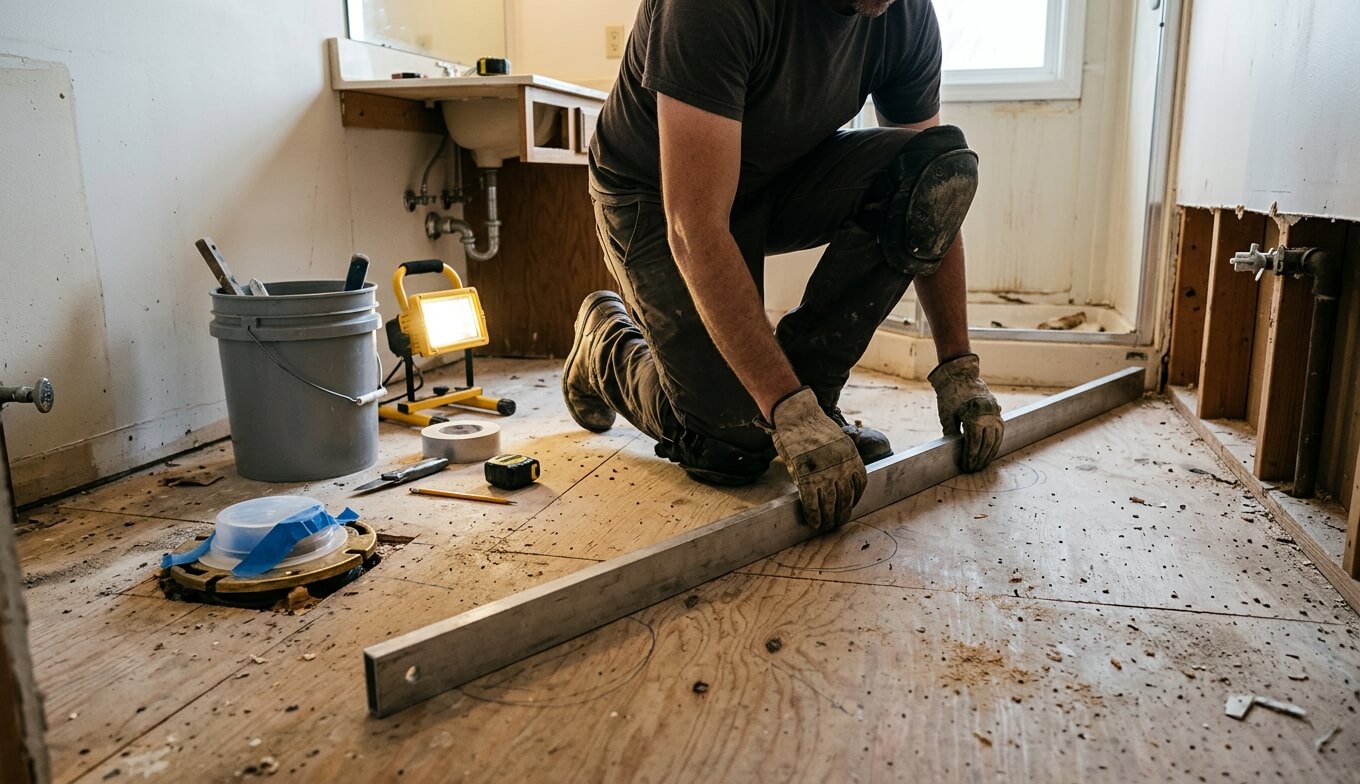
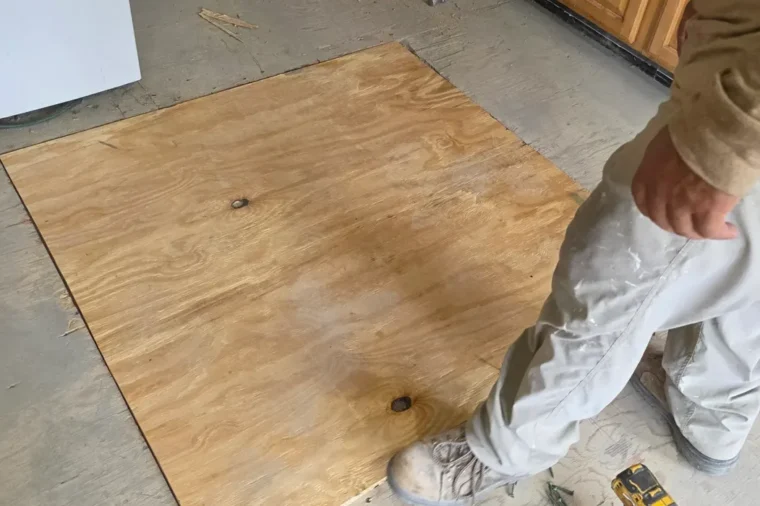
Flat and level are different things. A floor can slope slightly and still take tile, but it can’t have humps and dips. Installers check flatness with a long straightedge, marking high and low spots, and check stiffness by walking the floor and watching for bounce.
Ceramic and porcelain need a floor that deflects no more than L/360 under load; stone needs L/720. Low spots get self-leveling underlayment, high spots get ground down, and a bouncy floor may need blocking or another layer of plywood. Our post on the tile installation mistakes that crack tile shows how each skipped check shows up months later.
Step 3: Install the Right Underlayment
The underlayment depends on what’s below it and how wet the room gets.
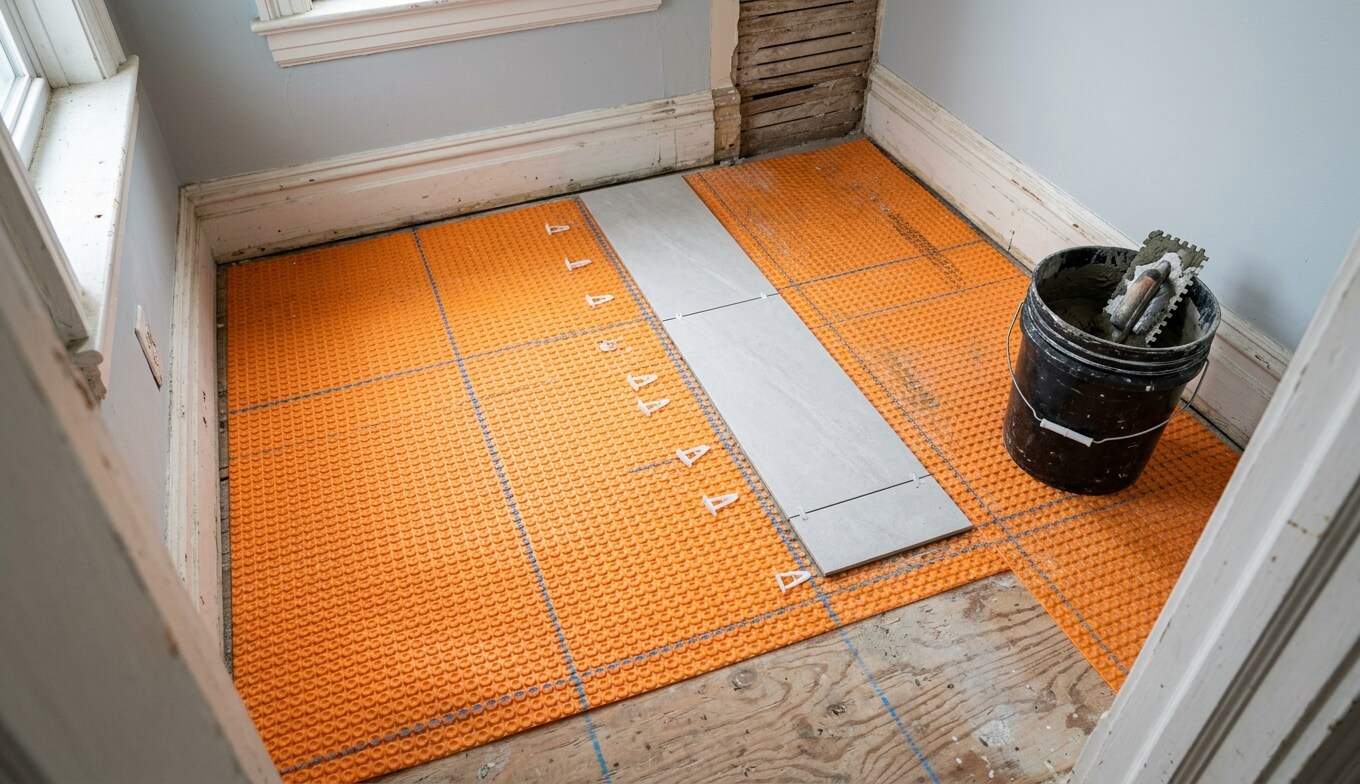
| Underlayment | What it does | Best fit |
|---|---|---|
| Cement backer board | Gives mortar a stable surface; set in thinset and screwed down | Wood subfloors in dry rooms |
| Uncoupling membrane | Lets tile move independently of the subfloor; many versions also waterproof | Wood subfloors, slabs with hairline cracks, large-format tile, bathrooms |
| Mortar bed | A thick, packed layer of mortar that can also build slope | Showers, badly uneven slabs |
Backer board doesn’t stiffen a floor and isn’t waterproof by itself. In bathrooms and laundry rooms, add a waterproofing membrane over it, especially around the tub, toilet flange and washer. Concrete basement slabs usually skip backer board, but they should be checked for moisture and cracks first.
Step 4: Plan the Layout
Before any mortar is mixed, the installer dry-lays tile to decide where the cuts will land. You want balanced cuts at opposite walls, no thin slivers at the doorway you walk through every day, and grout lines running straight down the longest sightline. In a 12×14 kitchen, shifting the starting line two inches can turn a sliver along the cabinets into a full-looking piece.
This is a good moment to walk the room with your installer and agree on the starting point. Ask them to pull tile from several boxes as they go, so small shade differences between production runs blend across the floor instead of showing up as a patch.
Step 5: Set the Tile in Thinset Mortar
Thinset is mixed to the manufacturer’s ratio, left to slake for a few minutes, then remixed. Porcelain calls for a polymer-modified thinset, and large or heavy tile calls for a mortar rated for it. Premixed mastic is meant for walls, not floors.
Trowel size scales with tile size. A 12×24 or larger tile typically needs a 1/2-inch notch plus back-buttering, a thin skim coat on the back of the tile. Ridges are combed in one direction, and each tile is pushed across them so they collapse. The target is at least 80% mortar contact in dry areas and 95% in wet ones, with corners and edges fully supported. A careful installer lifts a freshly set tile now and then to check, and uses leveling clips on large-format tile to keep edges flush.
Step 6: Let the Mortar Cure
Mortar typically needs about 24 hours before grout, and longer in cold basements, humid weather, under large non-porous tile or over some membranes. Nobody walks on the floor during that window. Rapid-setting mortars can shorten it when a household can’t spare its only bathroom, which is a legitimate choice as long as it’s planned rather than improvised.
Step 7: Grout and Fill the Soft Joints
Spacers come out, grout is packed into the joints with a rubber float worked diagonally, and the haze is sponged off in light passes. Sanded grout suits joints 1/8 inch and wider, and unsanded grout suits narrower joints. Urethane and epoxy grouts cost more but resist stains far better, which is worth it on a light grout in a kitchen.
Grout never goes where tile meets a wall, a tub or a cabinet base. Those perimeter joints get flexible sealant so the floor can expand and contract, and the baseboard hides them. On large open floors, industry guidance from the TCNA calls for movement joints in the field every 20 to 25 feet indoors, and closer in sunny rooms.
Step 8: Finish, Clean and Seal
Transitions go in at doorways, baseboards or shoe molding go back on, and a toilet is reset on a new wax ring. Cement grout is usually sealed once it has cured for 48 to 72 hours, and many installers prefer to wait longer. Porcelain tile itself doesn’t need sealing; natural stone does, often before grouting and again after.
How Long the Tile Floor Installation Process Takes
Most single rooms take two to four working days on site, and most of that time is spent waiting for each layer to cure rather than setting tile. Large-format tile, natural stone, old tile removal and heavy leveling each add a day or so. For a day-by-day schedule, when you can walk on the floor, and current DMV pricing, see our tile flooring installation cost guide.
How to Get Your Home Ready for Install Day
A little preparation before tile floor installation day saves the crew hours and keeps the schedule intact. These are the details homeowners most often find out about too late:
- Check door clearance. Tile, thinset and underlayment often add 5/8 inch to an inch of height, so interior doors may need trimming.
- Check the dishwasher opening. Tiling under the cabinets can trap a dishwasher if the new floor raises the opening; ask how your installer will handle it during the kitchen flooring installation.
- Plan your bathroom days. If it’s your only one, ask exactly which evening the toilet goes back and arrange showers elsewhere for a night or two.
- Empty the room fully, including closets that are getting tile, and decide who disconnects and reconnects appliances.
- Keep pets and kids out while the mortar and grout are fresh.
- Swap the HVAC filter once demolition is done, since fine dust travels.
- Sort out parking if you’re in a DC rowhouse or a tight Arlington street. A wet saw and 40 boxes of tile need a close spot.
- Save attic stock. Keep at least one full box of leftover tile and write the grout color name on it for future repairs.
Tile Floor Installation in Northern Virginia, Maryland and DC
Local housing stock changes tile floor installation prep more than the tile itself does. Three conditions come up again and again across the region.
Basements. Below-grade slabs in Fairfax, Bethesda and Silver Spring can push moisture up through the concrete, which leaves white efflorescence in grout and weakens the bond. A moisture test before setting, plus a crack isolation membrane over any slab cracks, is cheap insurance. Porcelain is the safest tile below grade.
Older homes. DC rowhouses and pre-1970 houses in Arlington and Falls Church often hide two or three old floors and joists that span farther than anyone would frame today. In homes built before the 1980s, old 9-inch vinyl tiles and the black adhesive under them can contain asbestos, so have them tested before anyone grinds or scrapes.
Climate. Humid summers and dry, heated winters move every floor in the region. That swing is the reason perimeter soft joints matter here, and it’s why grout cure times stretch in July.
On permits, Fairfax County lists the replacement of tiles and flooring material among projects that don’t need a building permit. Moving a drain, reframing joists or adding a circuit for heated floors is different and typically needs one. For tile installation in Maryland, Montgomery County’s Department of Permitting Services sets the rules; for Washington, DC tile flooring jobs, it’s the DC Department of Buildings. Check with them whenever the work goes beyond the floor covering.
At FIXO, our installers check flatness, stiffness and slab moisture at the measurement visit, before the price is fixed, so prep is written into the quote instead of showing up later as a change order. It’s the same process whether the job is a Northern Virginia bathroom flooring installation or a Bethesda kitchen. If you’re comparing quotes after a bathroom floor tile installation near me search, ask each company how it handles prep before you compare prices.
DIY or Hire a Pro for Floor Tile Installation?
A small, square room on a concrete slab with standard-size tile is a fair DIY project for a patient person. Large-format tile, wood-framed upper floors, bathrooms that need waterproofing and anything over radiant heat are better handed to a professional.
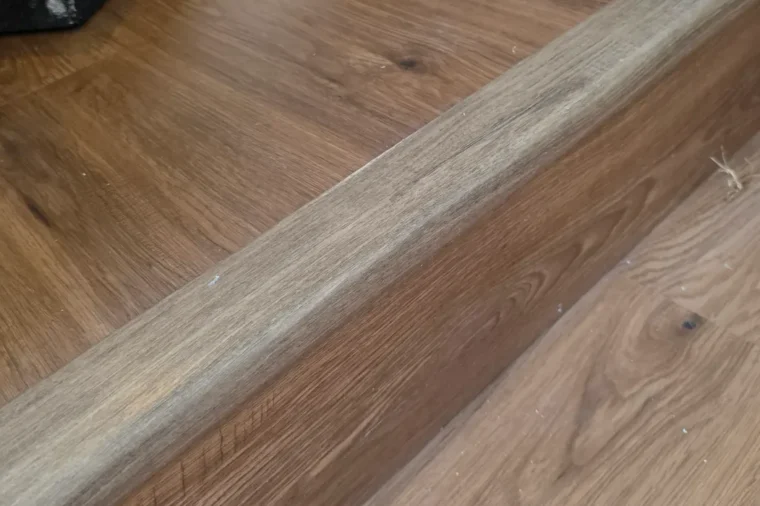
Be honest about the math. Wet saw rental, a straightedge, self-leveler, membrane and the right mortar add up quickly on a 40-square-foot bath, and the learning curve shows in the result. Lippage, where one tile edge sits higher than its neighbor, is the mistake you’ll feel under bare feet for as long as you own the house.
What a Good Installer Lets You See During the Job
You don’t need to supervise a tile floor installation, but a few checkpoints tell you the work underneath is right. A good installer will happily show you:
- The flatness check, with high and low spots marked before underlayment goes down.
- The membrane or backer board fastened or bonded to the manufacturer’s spec before any tile is set.
- A lifted tile with mortar covering the back.
- A gap at the walls left for sealant, not packed with grout.
- A written cure schedule covering when you can walk on the floor, move furniture back and mop.
- Leftover tile and grout, labeled, before the crew leaves.
Caring for Your New Tile Floor
The first month after tile floor installation matters most, because grout is still gaining strength. Sweep or vacuum on the hard-floor setting, then damp-mop with a pH-neutral cleaner.
Skip vinegar and other acidic cleaners on cement grout and natural stone, since they slowly etch both. Reseal cement grout every year or two; if a drop of water darkens the joint instead of beading, it’s time. Put felt pads under chair legs, a mat at every exterior door to catch grit, and keep that box of attic stock somewhere dry.
Frequently Asked Questions About Tile Floor Installation
What are the steps in the tile floor installation process?
The tile floor installation process follows eight steps: protect the room and remove the old floor, check the subfloor for flatness and stiffness, install backer board or an uncoupling membrane, dry-lay the layout, set tile in thinset mortar, let the mortar cure, grout and seal the soft joints, then finish with transitions and trim. Most single rooms take two to four working days.
Can you install new tile over an existing tile floor?
Sometimes, but removal is usually the better choice. Tiling over tile only works when the old floor is fully bonded, flat and free of cracks, and when the extra height won’t create problems at doors, toilet flanges or transitions. Any hollow-sounding tiles or cracks in the old floor will carry through to the new one, so most installers recommend tearing out and starting from the subfloor.
Do I need a permit for tile floor installation in Northern Virginia?
For a straightforward replacement, usually not. Fairfax County lists replacement of tiles and flooring material among projects that don’t require a building permit. Work that goes beyond the floor covering is different: relocating plumbing, reframing joists or adding an electrical circuit for radiant heat typically needs a permit. Other jurisdictions set their own rules, so check with your local permit office.
What is the best underlayment for floor tile?
It depends on the subfloor and the room. Cement backer board works well over wood subfloors in dry areas. An uncoupling membrane is the better choice for large-format tile, slabs with hairline cracks and bathrooms, because it lets tile move independently of the subfloor and many versions add waterproofing. Neither one will fix a floor that bounces; that needs structural reinforcement first.
Is porcelain or ceramic better for a bathroom floor?
Porcelain is the stronger choice for most bathroom floors. It absorbs 0.5% of water or less, resists chips and wear, and many matte porcelain tiles meet the 0.42 wet DCOF slip-resistance benchmark. Ceramic is cheaper and works fine in a low-traffic powder room or guest bath. Whichever you choose, confirm it’s rated for floors and has a slip rating suited to wet areas.
How do I prepare my home for tile installation?
Empty the room completely, including any closet getting tile, and agree on who disconnects appliances. Check that interior doors and the dishwasher opening will clear a floor that may sit 5/8 inch to an inch higher. If it’s your only bathroom, ask which evening the toilet goes back. Keep pets away from fresh mortar, and save a box of leftover tile.
Planning Your Tile Floor Installation: The Next Step
A smooth tile floor installation process comes down to choices made before the first tile is set: a tile rated for the room, a subfloor that’s flat and stiff, the right underlayment, and enough patience to let each layer cure. Get those right and porcelain or stone will outlast almost everything else in your home.
If you’re planning a kitchen, bath, mudroom or basement in Northern Virginia, Maryland or DC, FIXO can measure the room, check the subfloor and give you one fixed price with the membrane and waterproofing included. See what’s covered on our tile flooring installation page, read how our measurement visit works, or call (757) 589-6859 to talk to an installer.
 4.9 on Google14 reviews
 Licensed & InsuredVirginia · Maryland · Washington, D.C.
 Workmanship GuaranteedInstallation backed in writing
 Locally OwnedServing NoVA, MD & D.C.